Adventures in Blacksmithing: Day 9
So recently, I’ve not blogged regularly, and as you can probably guess, this blacksmithing adventure didn’t happen last weekend. But I started the post a week and half ago, and I really wanted to finish it. So…
I began Day 9 of blacksmithing with an incomplete project. Though the bulk of the work on Sarah’s flower basket stake was complete, I still wanted to texture the straight stake. It really looked weird to me otherwise.

I began by moving my forge back outside. Mike had cut openings in the sides with the grinder, allowing longer pieces better position in the fire, so the forge was still in the garage. After a little set up, I started my fire (which was super smoky initially this time), but it was ready in no time. Texturing the stake was a long process simply because the piece was big and cumbersome. I didn’t heat the metal as hot as I did while scrolling it. I have found that the hotter I get the metal, the less likely it is that the hammer leaves marks, and this time, I really wanted them.
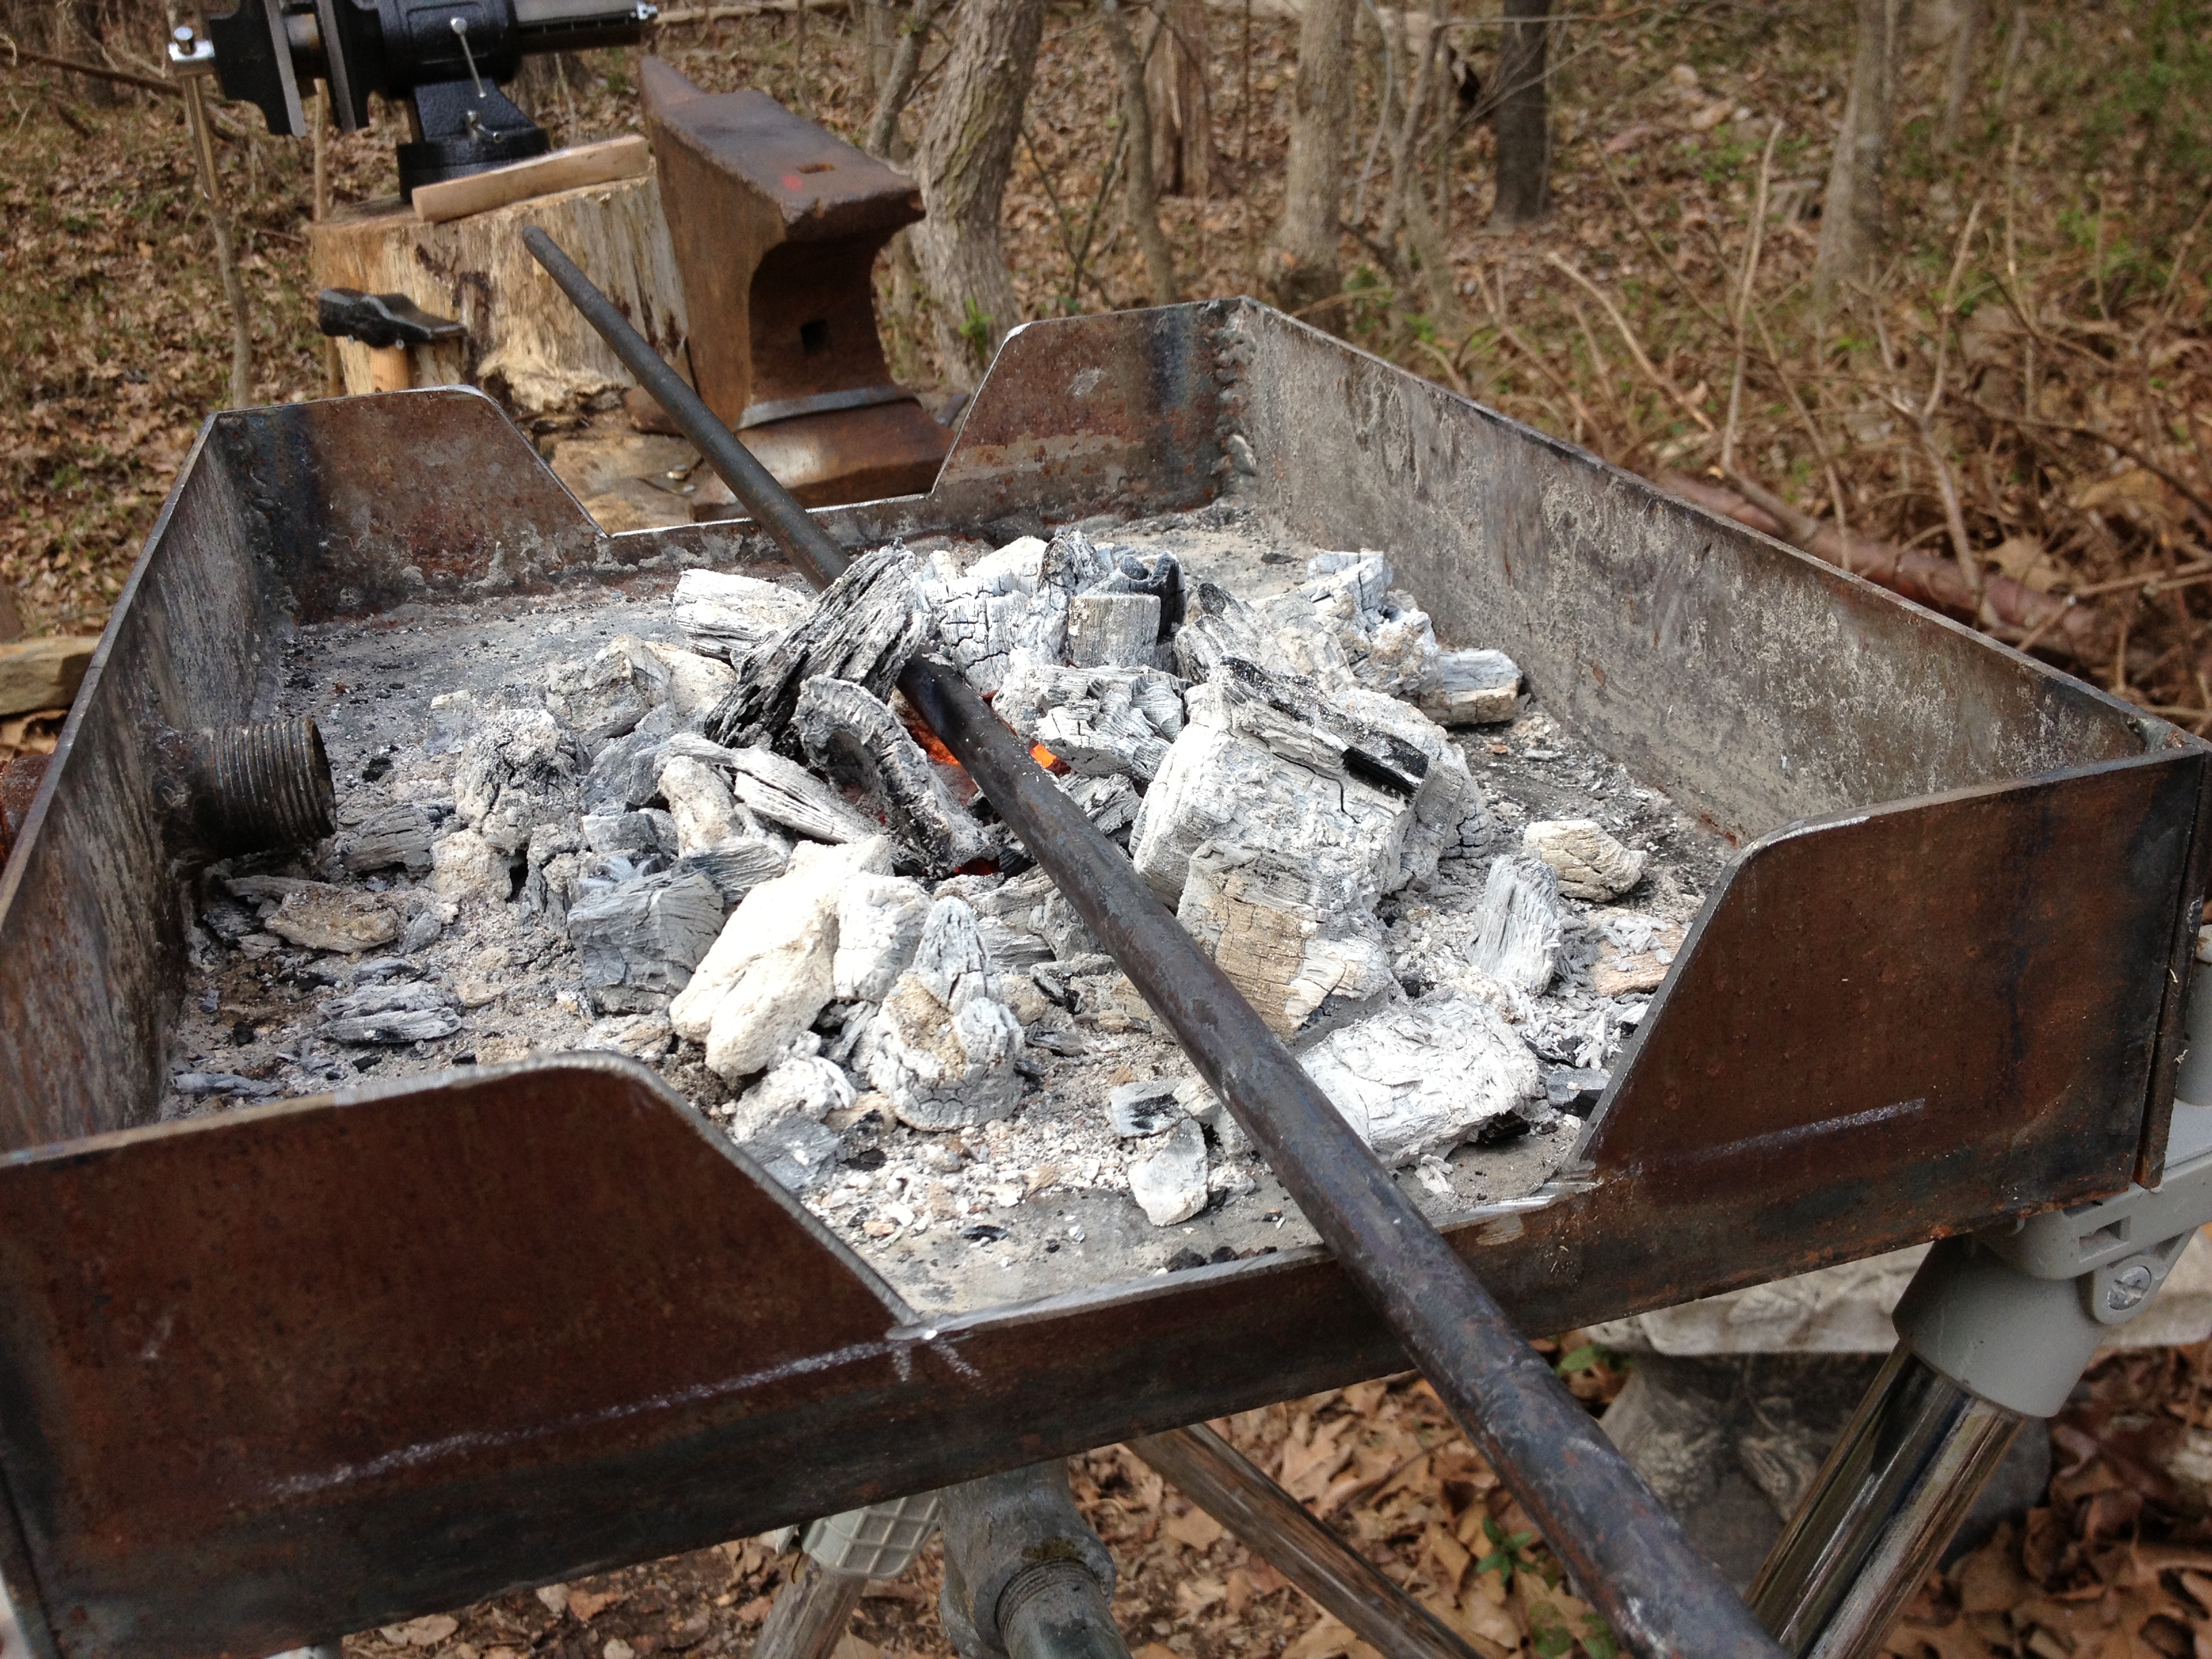
That said, even though the iron wasn’t glowing, it was still quite hot. Important lesson learned: Do NOT reach underneath a piece of hot metal to retrieve a tool. It is too easy to raise up too quickly. The result was not a bad burn, but I still had a mark on my wrist days after.
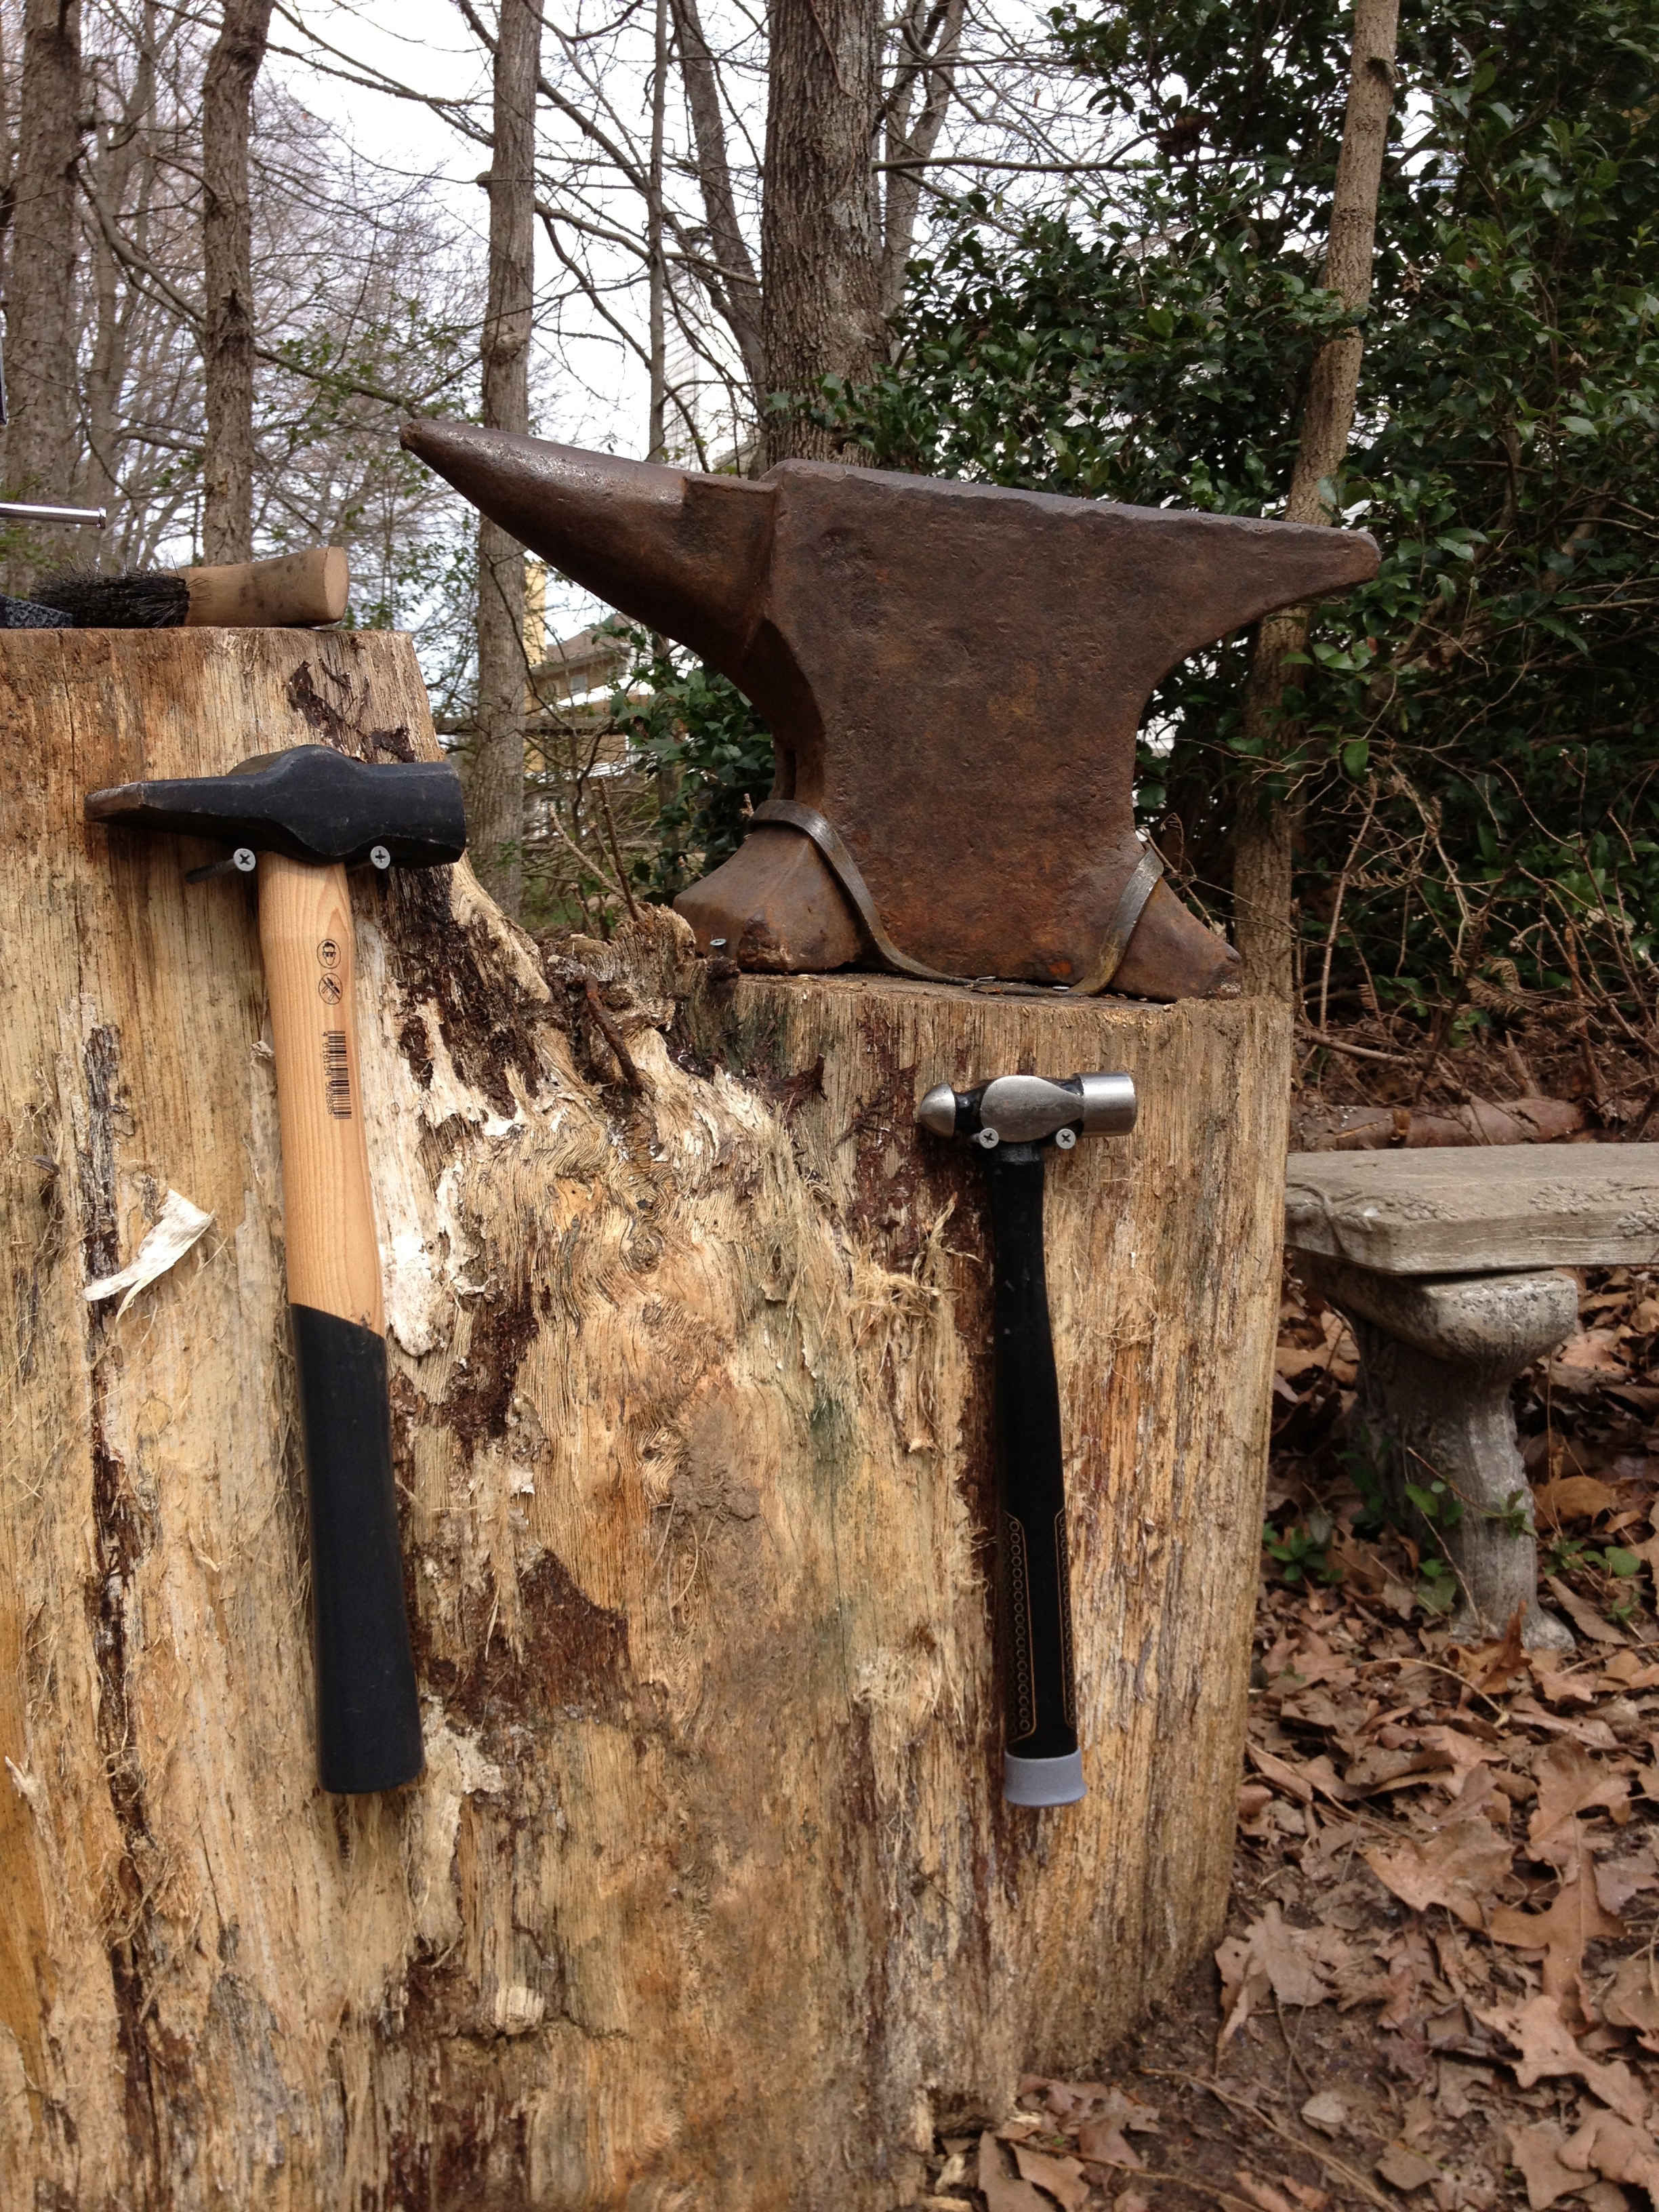
Having finished Sarah’s piece, I decided I wanted to make something practical. A couple weeks ago, Mike made hammer hangers by simply sinking screws into my anvil stand. While they worked fine, I thought it was time for me to make something functional for myself.
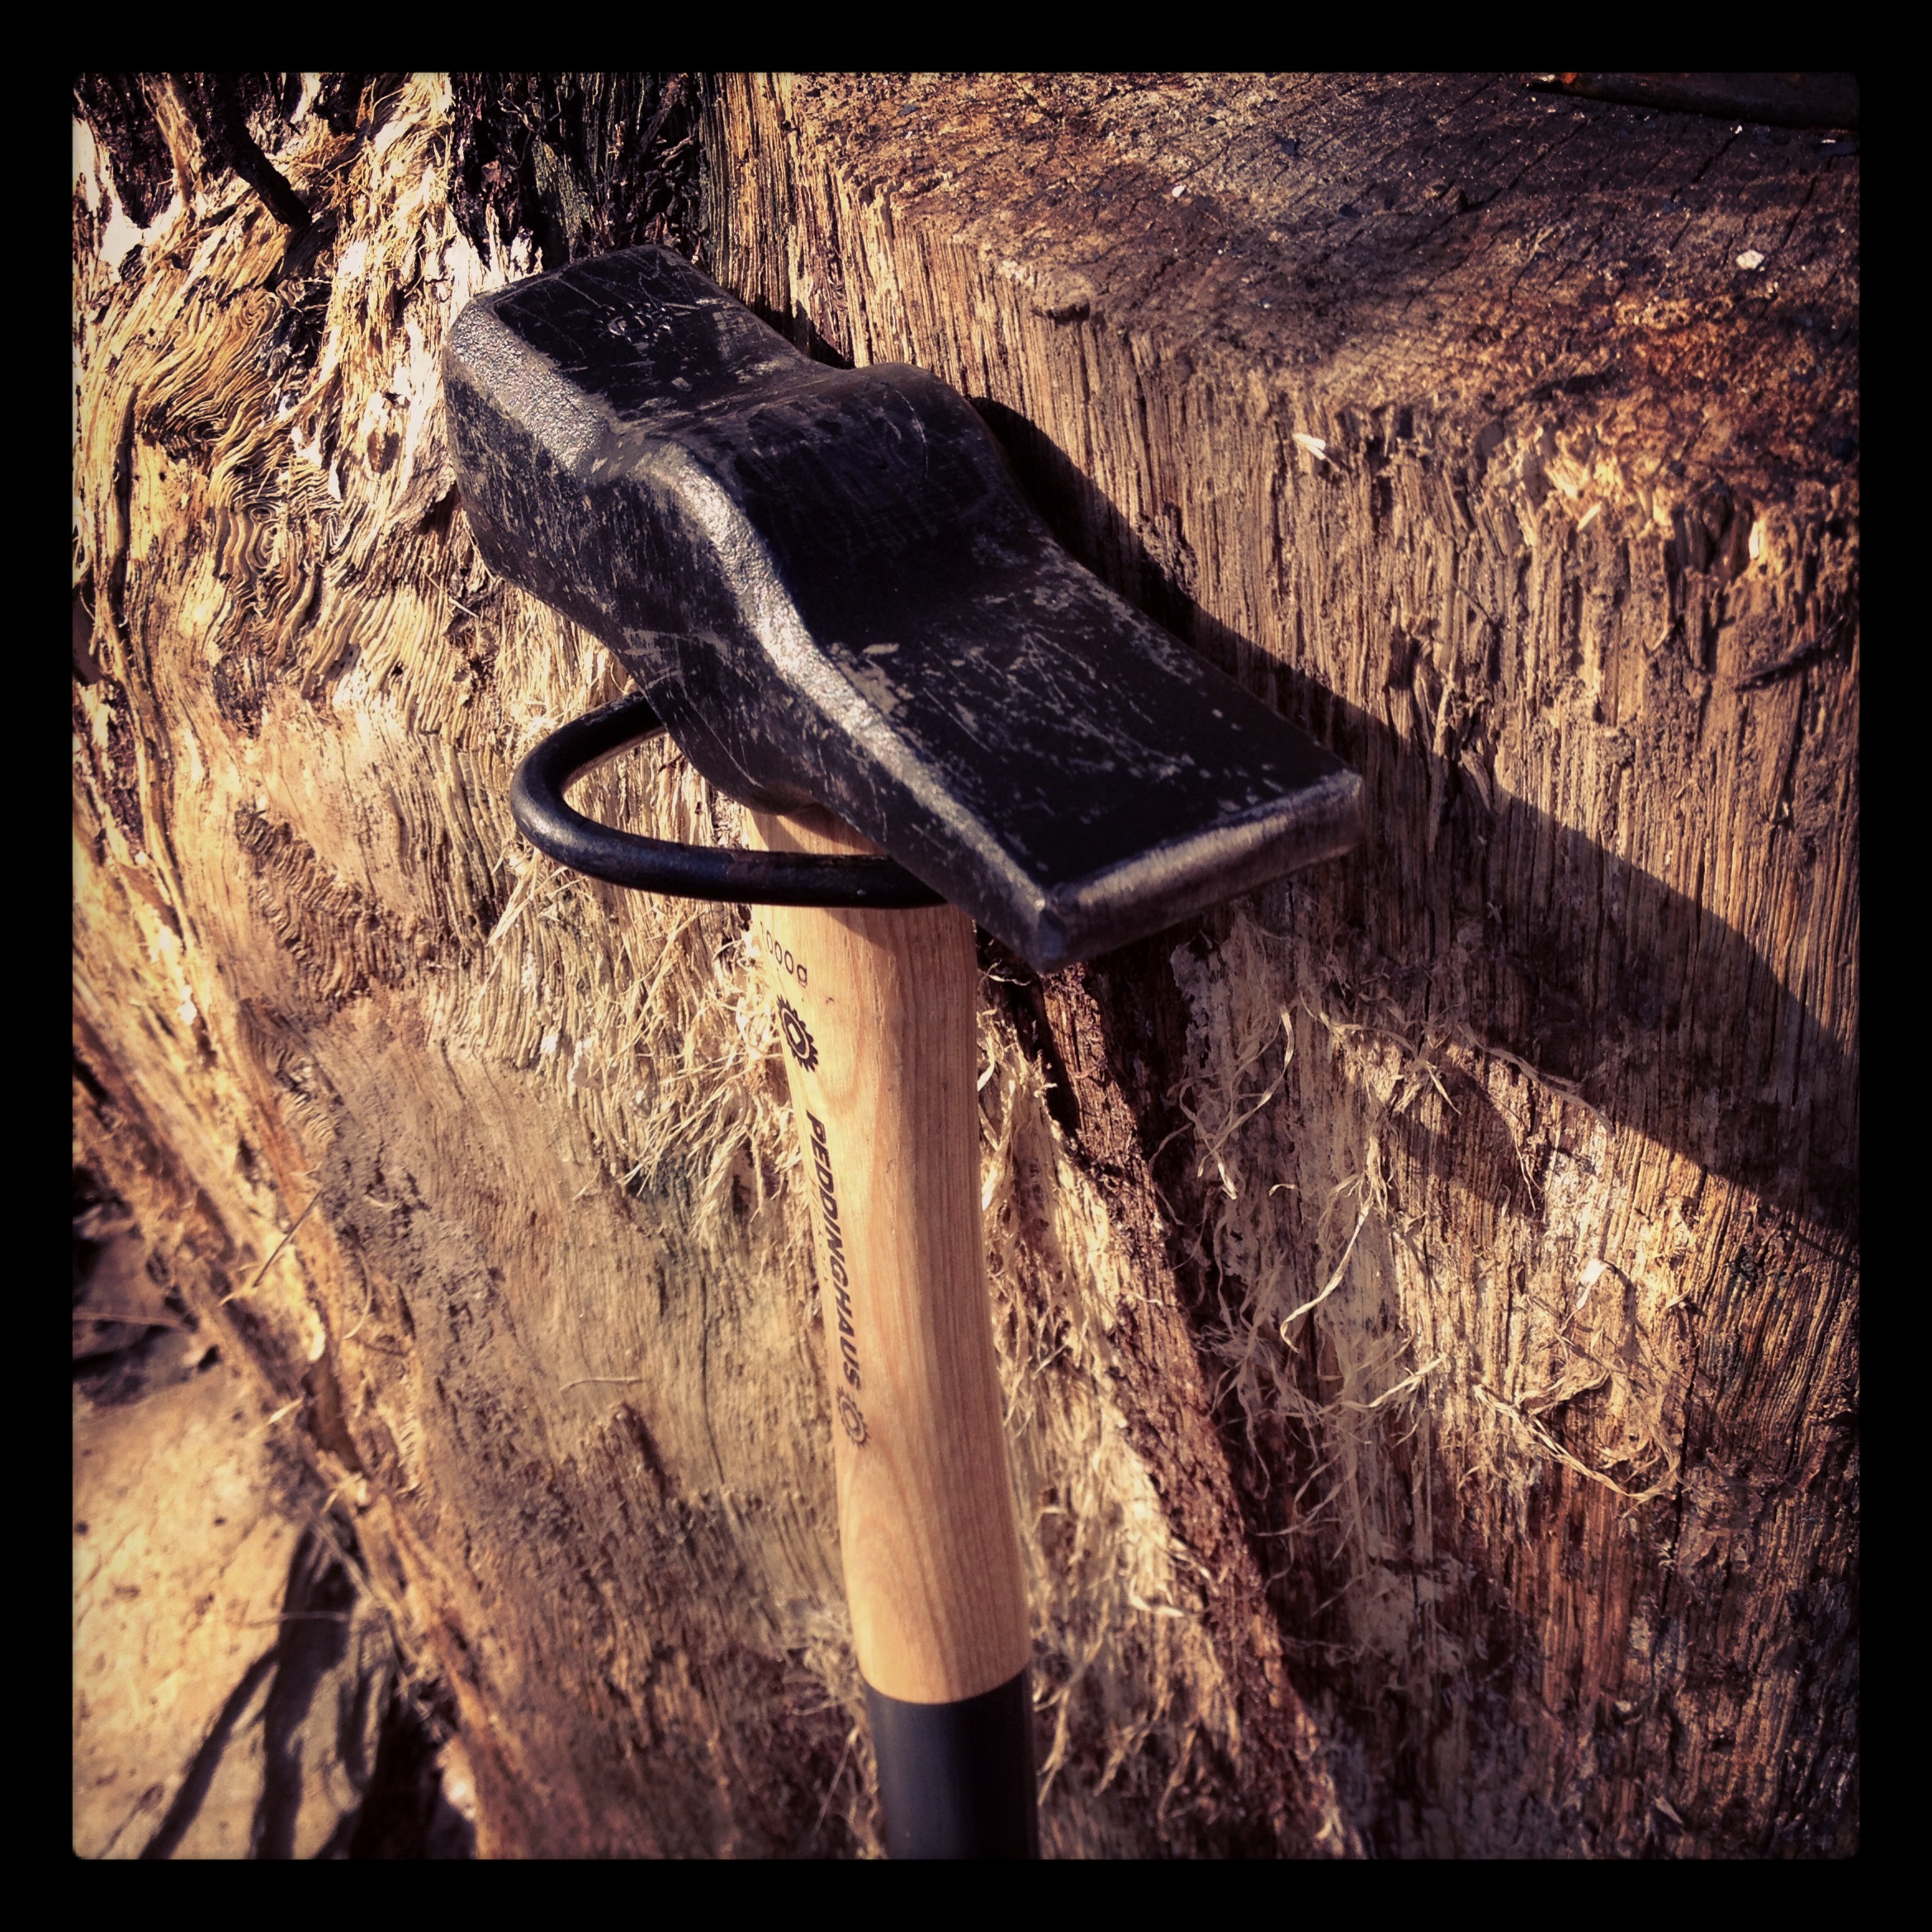
Using a small ¼ inch piece of stock, I began by tapering one end. (No more of that awkward tricky tapering after awkwardly weighting the other end of the project.) Honestly, this wasn’t my best taper. It wasn’t awful like the first ones, but for some reason or another, I couldn’t seem to get the taper as sharp as I would have liked. Convinced I had done as well as I could in the moment, I finally moved on to bending. Using the forks, I made three bends. It took a couple trips to the fire and some awkward maneuvering to get the stock in the right position on them, but I was pleased with the result.
I knew that both Sarah’s stake and my hammer hanger would need to be protected against rust. There are several options for combating rust on non galvanized metal. When we first strapped my anvil down, Mike looked for form oil at Lowes, and had we actually procured some, I would have tried that. We did not however, so I just got some clear Rust-Oleum rust stopper in the spray can. I sealed both pieces.
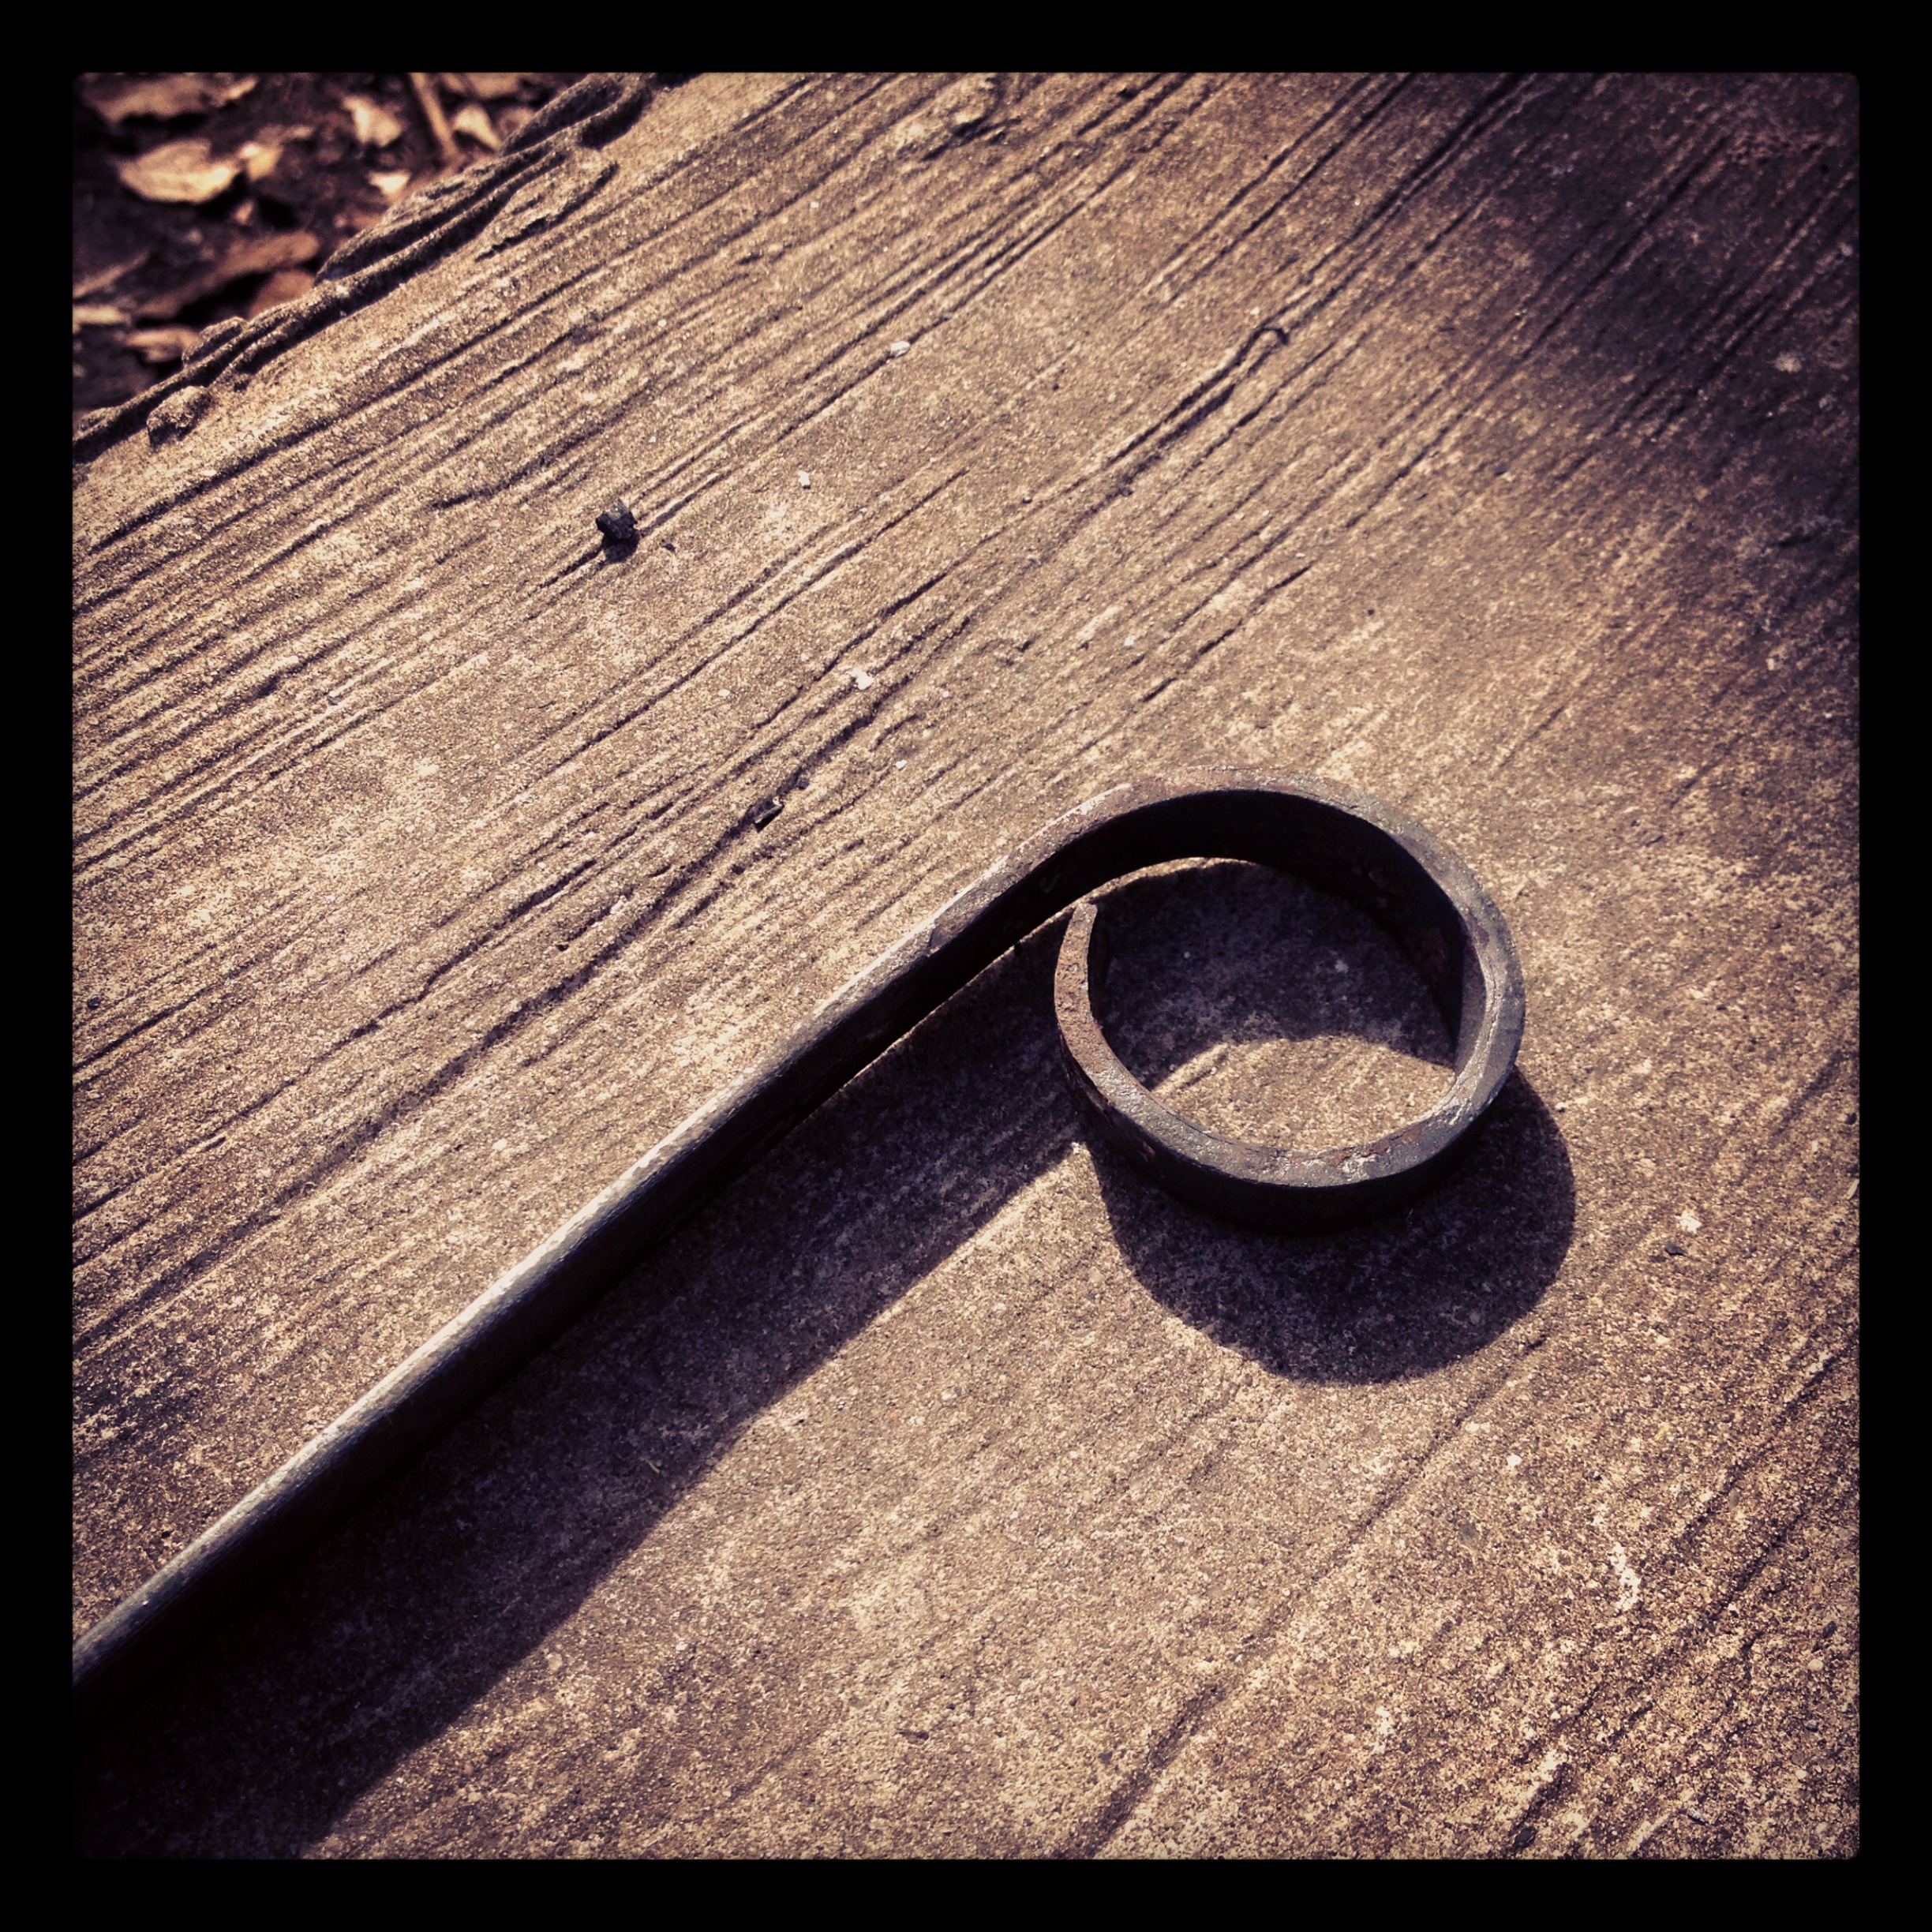
While all of this took some time, I still was not ready to shut the forge down for the day. So I made it my mission to make my tightest scroll to date. Using a flat piece of stock, I am happy to report, I made nearly a complete circle. Fun but not practical.
Hey, I had just been practical.

At that point, my parents had arrived, and while they talked, I was busy taking the screws out of my anvil stand and replacing them with my hanger. Mission accomplished. With my stomach growling, it was time to call it quits. I shut the forge down, my dad helped me move tools back into the yard, and after a shower and putting aloe on my burn, it was time to find dinner.
And thus ended Blacksmithing Adventure Day 9.
Leave a Reply