How to Fold a Paper Crane
Some years ago, I managed the Tutoring Program at UNC Charlotte. I learned many, many lessons while there and met many wonderful people from all over the world. However, one of my most favorite lessons learned was how to fold a paper crane.
Andrew Tran was originally from Vietnam, though he had lived much of his life in North Carolina after his family immigrated. As one of my Chemistry tutors, Tran was hilarious and smart (still is, and now, he is also a dentist). He is one of the most open people I know, willing to share and learn, and it is Andrew Tran who taught me to fold a paper crane.
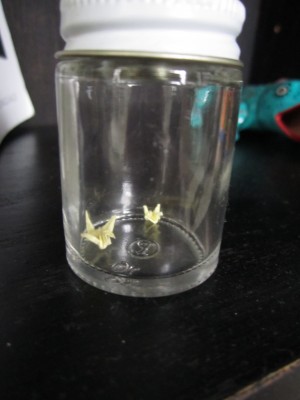
He did so after folding two for me so tiny that I keep them in an old school medicine jar on one of my bookshelves. Through the years since, I have folded many cranes – big, small, kissing, holding hands; for weddings, to sit on my desk at work, to leave with a big tip if I really liked the waitress, and finally to make a Crane Tree for my dining room. With each crane, I am grateful to Andrew Tran for the many skills, flavors, and stories he shared with me.
Next week, I will post “How to Make a Crane Tree”, but before you make a Crane Tree, you should probably first know how to fold a paper crane.
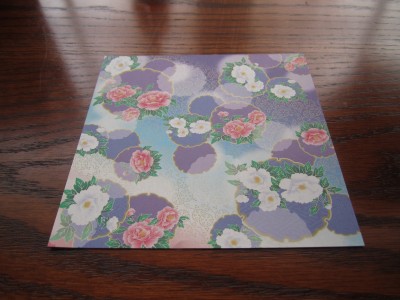
You will need a square piece of paper. Here, I’m using origami paper, but honestly some of the best cranes I have folded were with computer paper or cash register receipts. If you use computer paper, just be sure to tear it squarely (and when you tear be sure to crease several times before attempting the tear).
Fold it on the diagonal.
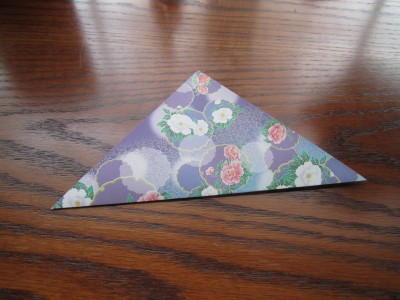
Fold it in half.
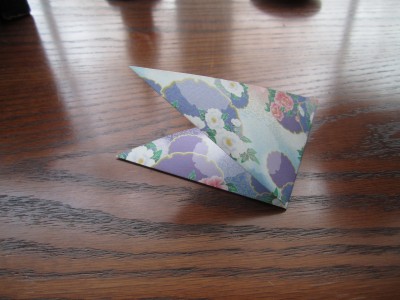
Do it again.
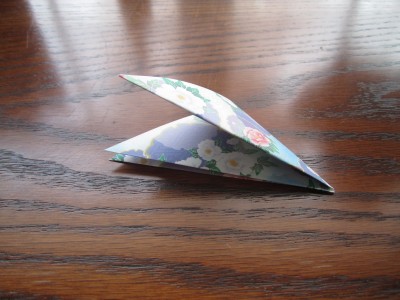
Open it up, and place in front of you oriented like a diamond.
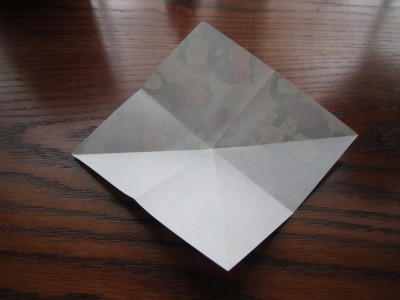
Fold the right corner down to the bottom point.
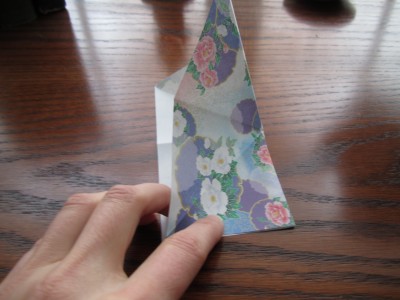
Bring the corner that is now sticking up over to the right corner.
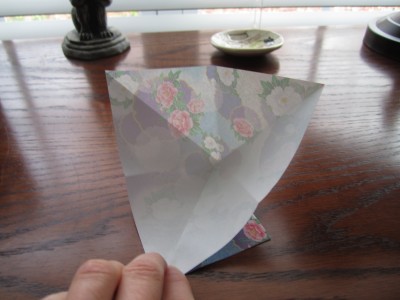
Bring the left corner down to the bottom point.
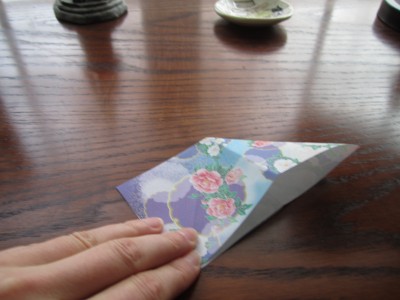
Bring the corner that is now sticking out down to the bottom.
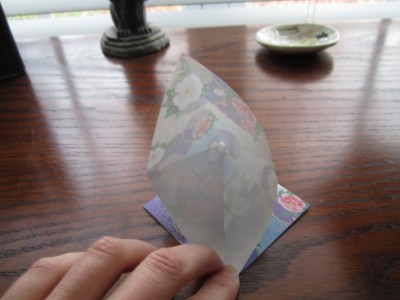
Press to crease the paper into a small diamond.
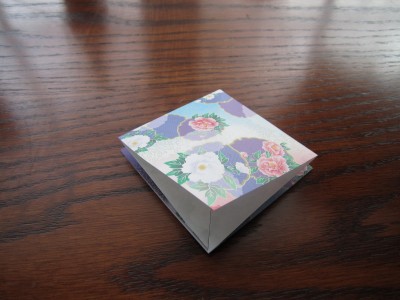
Fold the right corner over to the center point and crease.
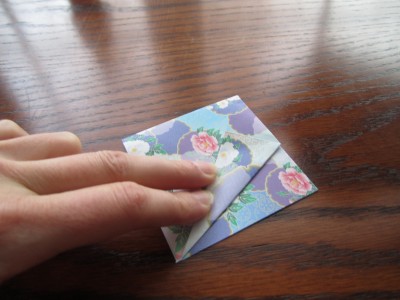
Do the same to the left side.
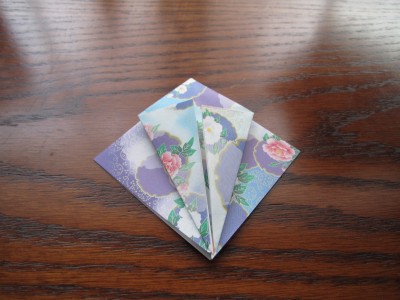
Flip the paper over and repeat process on the other side.
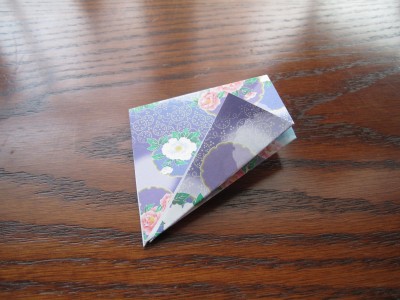
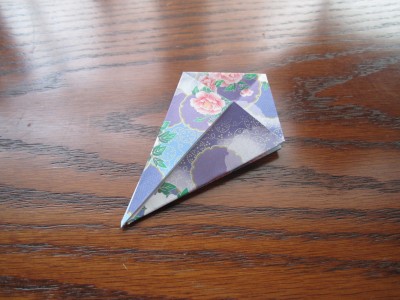
Fold the top point down to the center. Flip over and repeat.
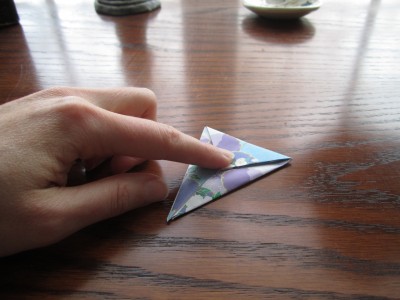
Now, unfold.
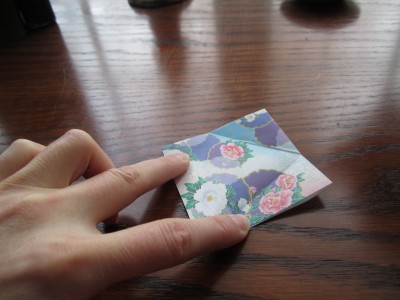
Flip over and unfold.
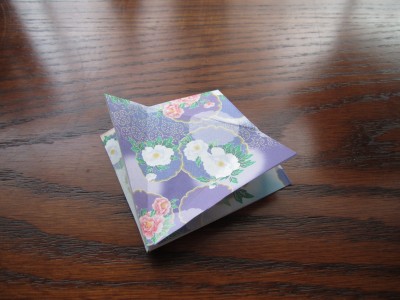
Grab the first layer’s bottom point and lift the paper open.
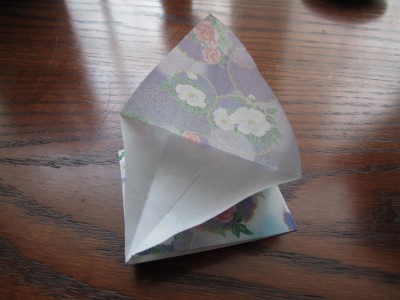
Fold both sides of the opened piece to the center and crease.
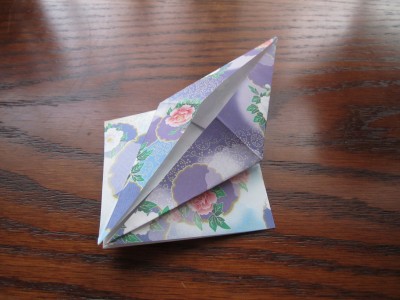
Flip and repeat the process.
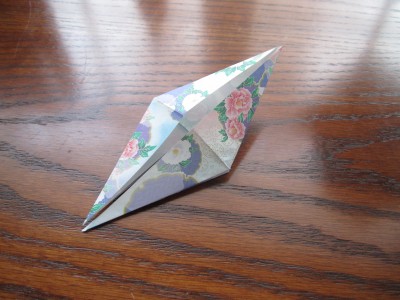
Fold the right point in toward the center and crease.
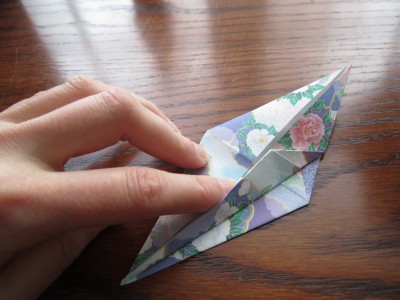
Repeat with the left point.
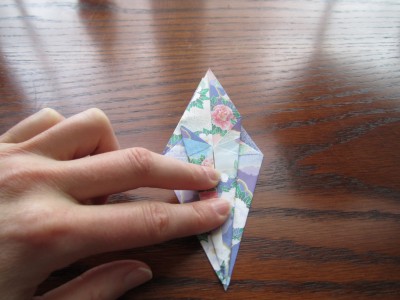
Flip and repeat.
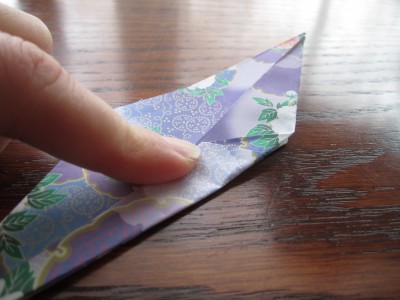
All folded in.
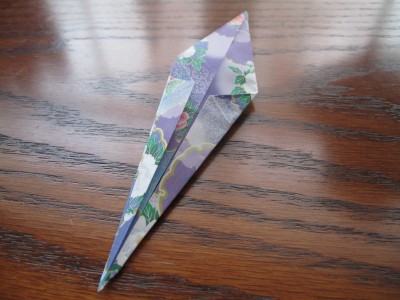
Pick up both the left and right point and bring them together.
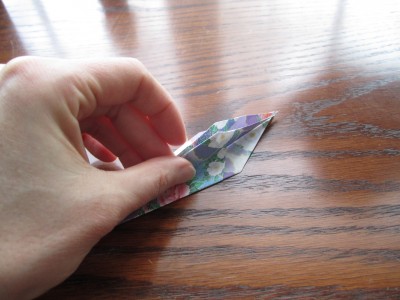
Pick the piece up and bring together the points on the back side as well. Crease so it lays flat.
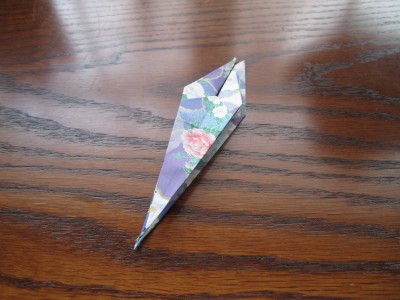
Fold the bottom point up so that it is flush the with rest of the folds.
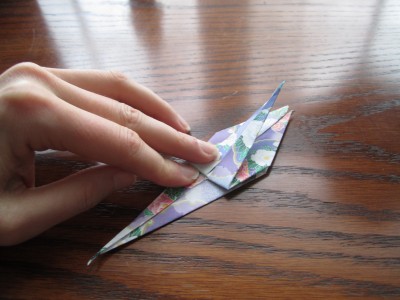
Flip and repeat.
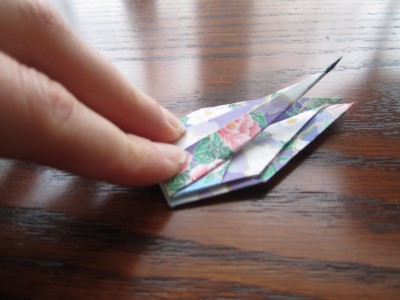
Pick the piece up, turn 90 degrees, and open it up.
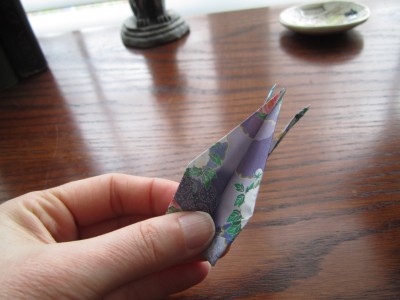
Crease flat.
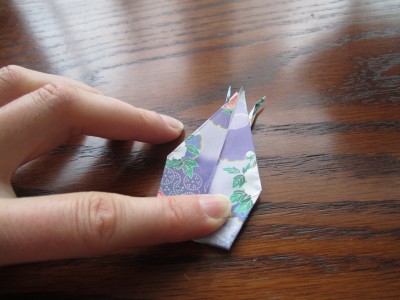
Pick it up again and pull out the legs inside. Be sure to pinch the bottom so they stay out.
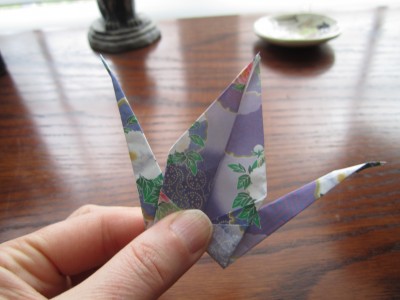
Pick one side for the head and crease by pushing the point down.
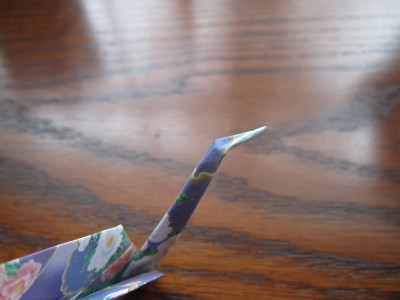
Now it’s starting to look good.
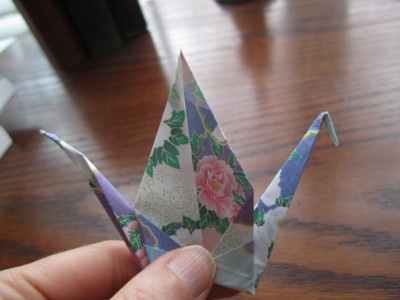
Fold the wings down.
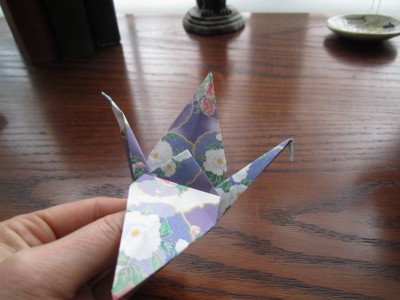
Now, look. He’s a little flat. Grab the crane by both wings and pull out and down to inflate his body.
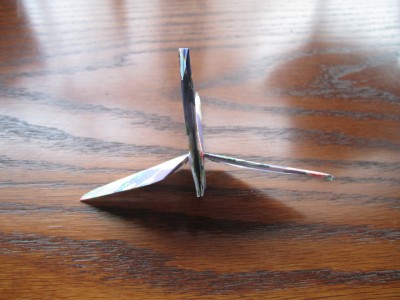
Poof!
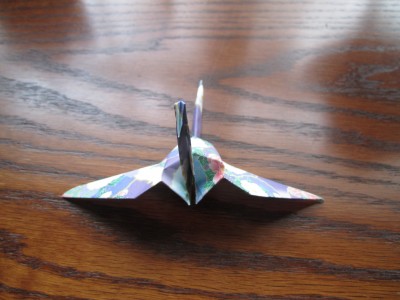
Push his wingtips up, and voila! You have made a crane.
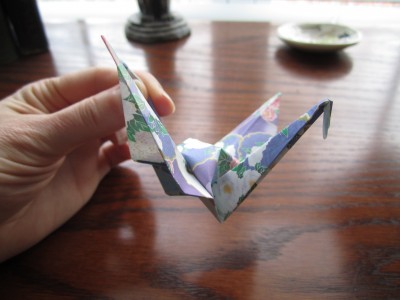
While it may not be as good as Andrew Tran’s, it’s a good start. And if you decide to make a Crane Tree, you get plenty of practice.
Leave a Reply