Adventures in Blacksmithing: Days 2 & 3
I love long weekends. They afford me more opportunity to do the things I love, and this weekend was such. In the wake of last weekend’s blacksmithing adventure, there were a few areas on which I wanted to focus.
1) Fire: I knew I needed to tend it better and felt it needed to be (and could be) hotter.
2) Metal temperature: Because I’m working outside and it’s winter, there is no real shade, so it’s hard to see the metal change colors. There were quite a few times on Day 1 I felt I’d pulled the stock out too soon because it was very hard to work, and there were also a few times I definitely got it right because it was far easier. I needed to maximize the later.
3) Scrolling: It was fun. I just wanted to do more of it.
This weekend’s adventures were far different than the weekend prior. For starters, with Mike out of town and my friend Bethany down with a cold, I was on my own. Saturday (a.k.a. Day 2) began with a trip to Lowe’s. I was out of stock, since I want to use Day 1’s project as a fire pit tool. I was afraid I would run out of charcoal as well. While I headed out of the garden section with a bag thrown over my shoulder, another customer called out, “Hey, looks like you have the same idea.”
“Yeah, sort of,” I replied. I mean I was, after all, making a fire.
Then he asks, “So what are you smoking?”
And I grin. “Metal.”
I think I caught him off guard a little.
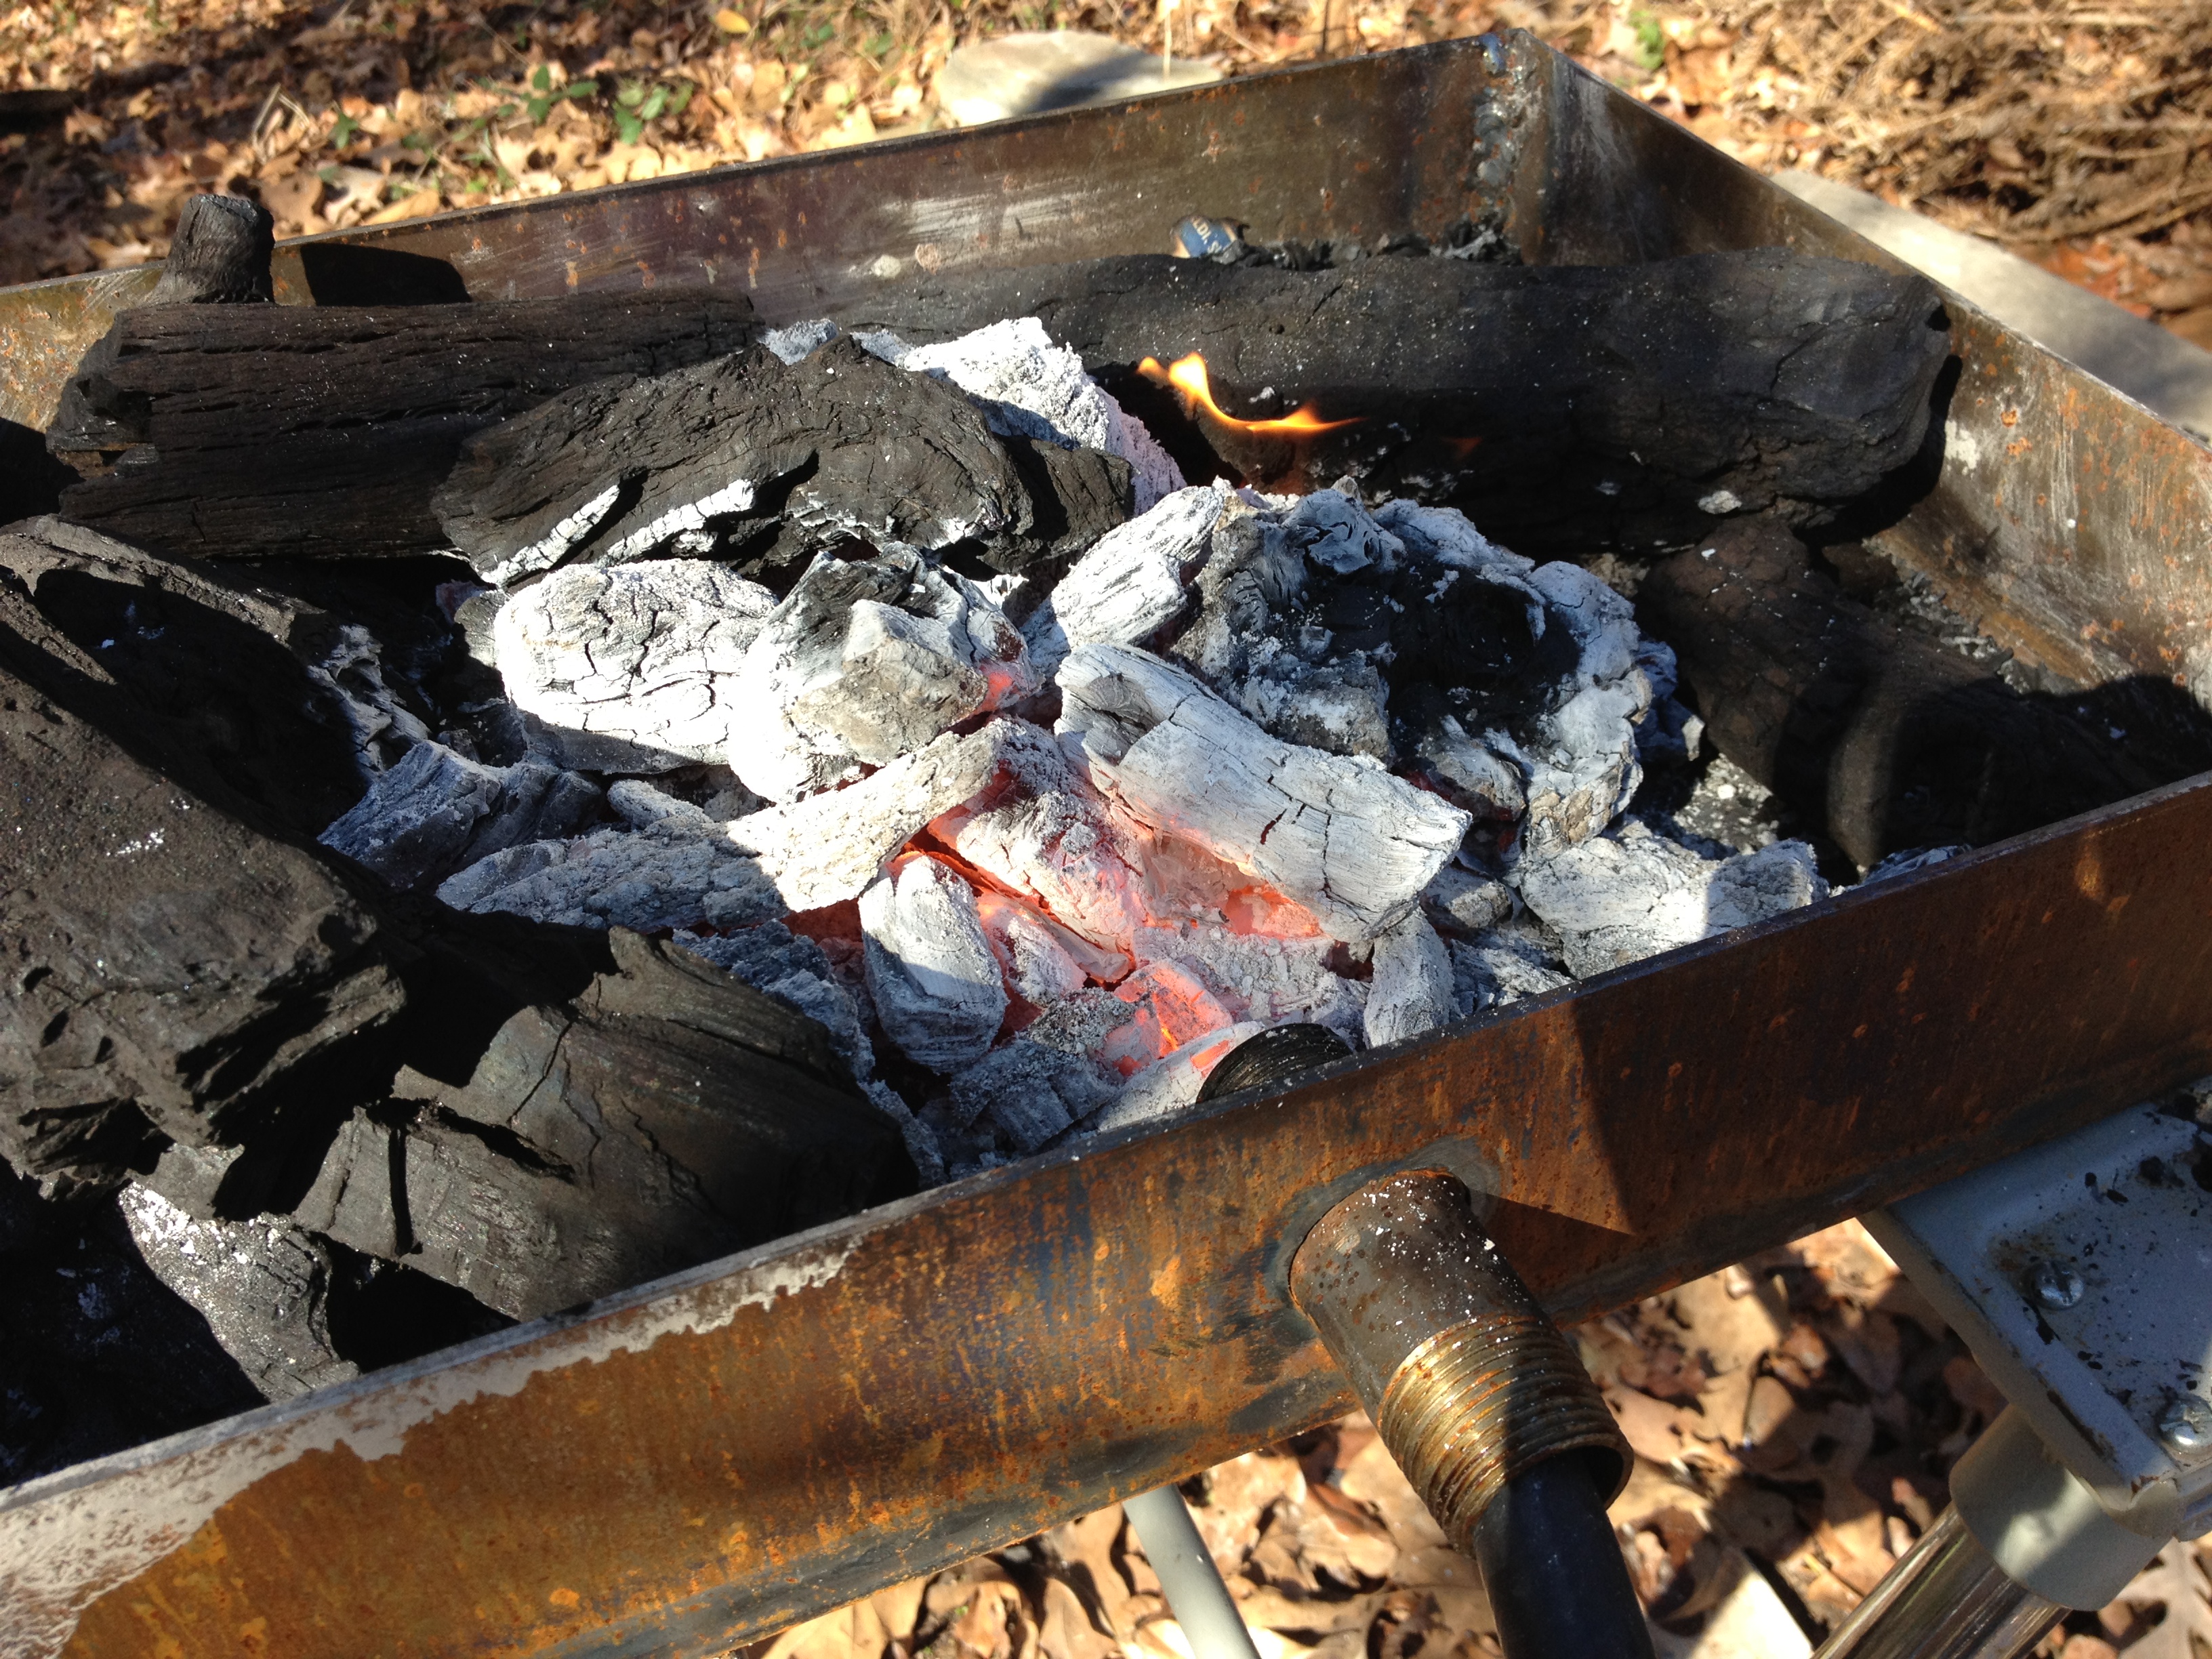
Back at home, I pulled out all of my tools and started the fire, and this was the first place I did something a little differently. I let the coals stay in the chimney starter longer and even added some additional pieces of charcoal, letting them all burn down to a bright red. Some of them even burned to bright orange/yellow. When I dumped the chimney starter, I raked the pile of coals up so that they were mounded. I then piled charcoal around. These pieces started to catch fire and held the super hot coals in place.
I’m happy to report that my fire was much hotter than it was Day 1 and was even hotter still the following day, but more on that later.

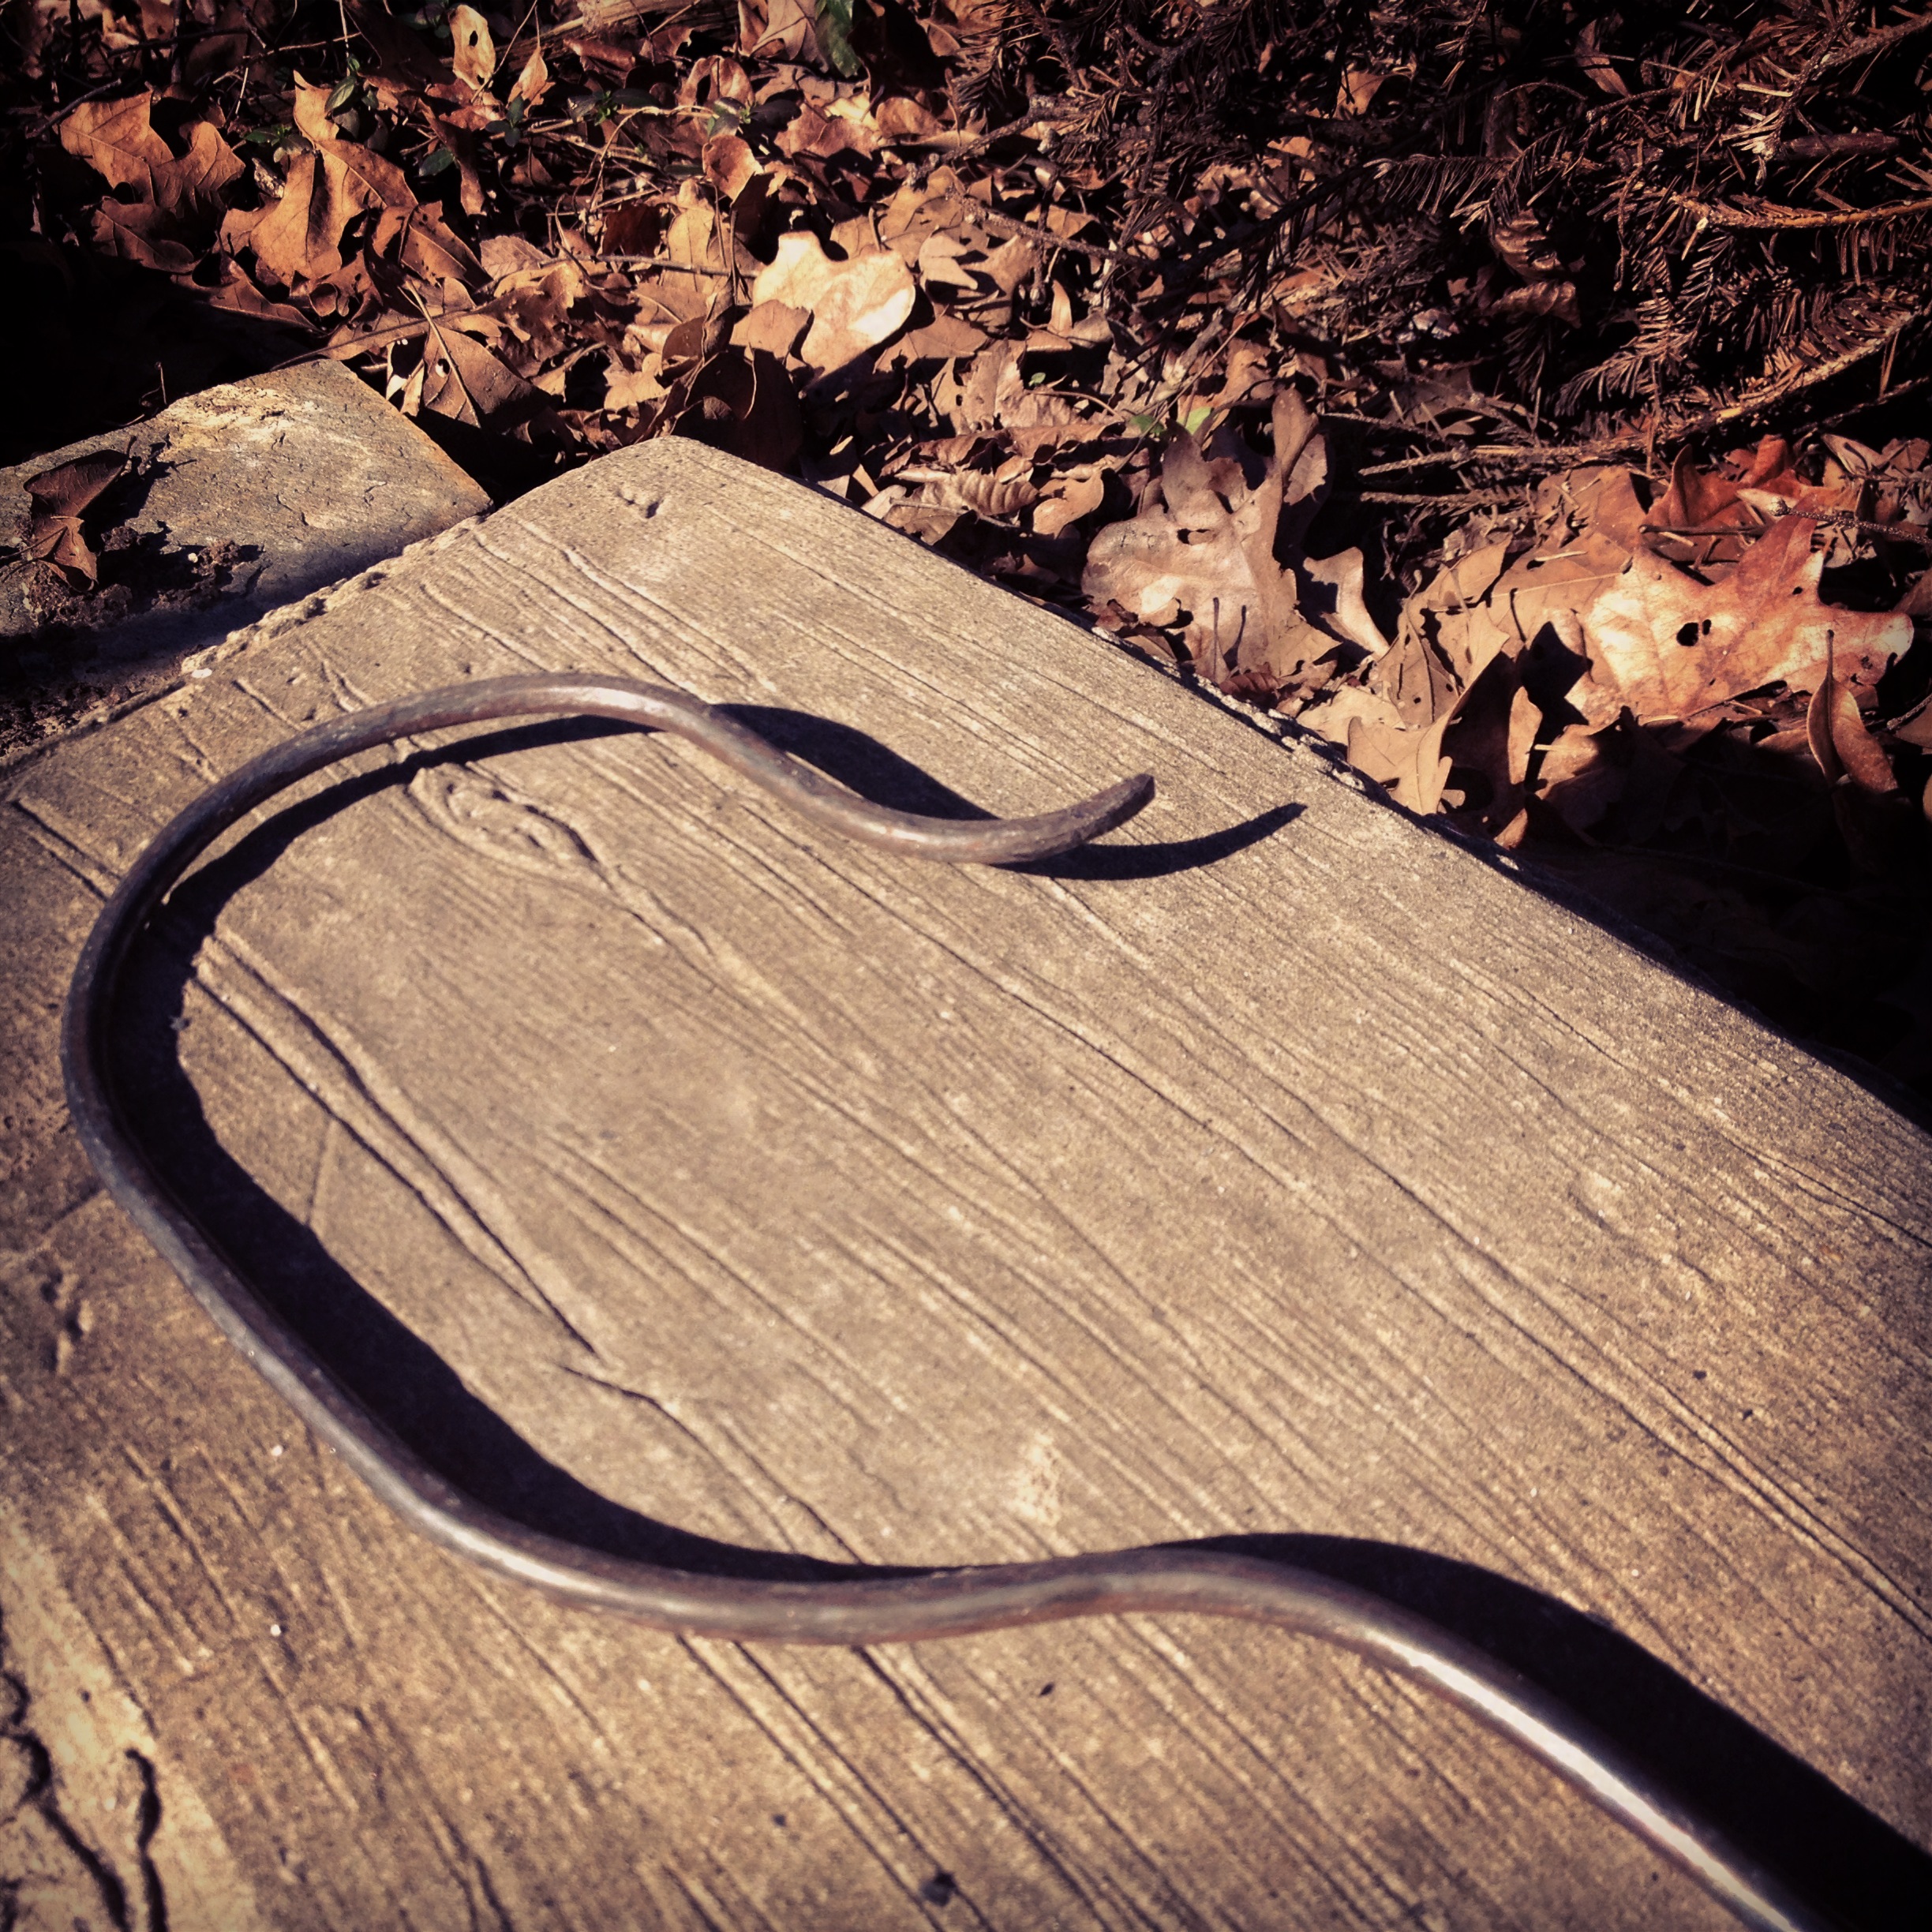
I used a ¼ inch piece of round stock for Saturday’s project. I knew it would be easier to work just because it was smaller and it would take less time to heat as well. My first aim was to taper the end of the stock. And taper it, I did – though it certainly was not the best taper and took several trips to the fire to accomplish it. Next, I decided to scroll using the horn, just as I had last weekend. Once I had completed one scroll, I scrolled in the other direction and made that scroll much bigger. Finally, I switched directions again and ended up with a metal article that looked rather like a shepherd’s crook. When I sent a picture to Mike, he told me he wanted to use it to hang a basket, which actually leads me right into Day 3.
On Saturday during my Lowe’s trip, I had bought a flat piece of stock as well, but I really wanted to do a taper again since I knew I needed to hone the skill (still do actually). So since the scrolled piece I did Saturday is destined to be a basket hanger, there was a significant portion of straight stock that needed to come off, and I could work with that.
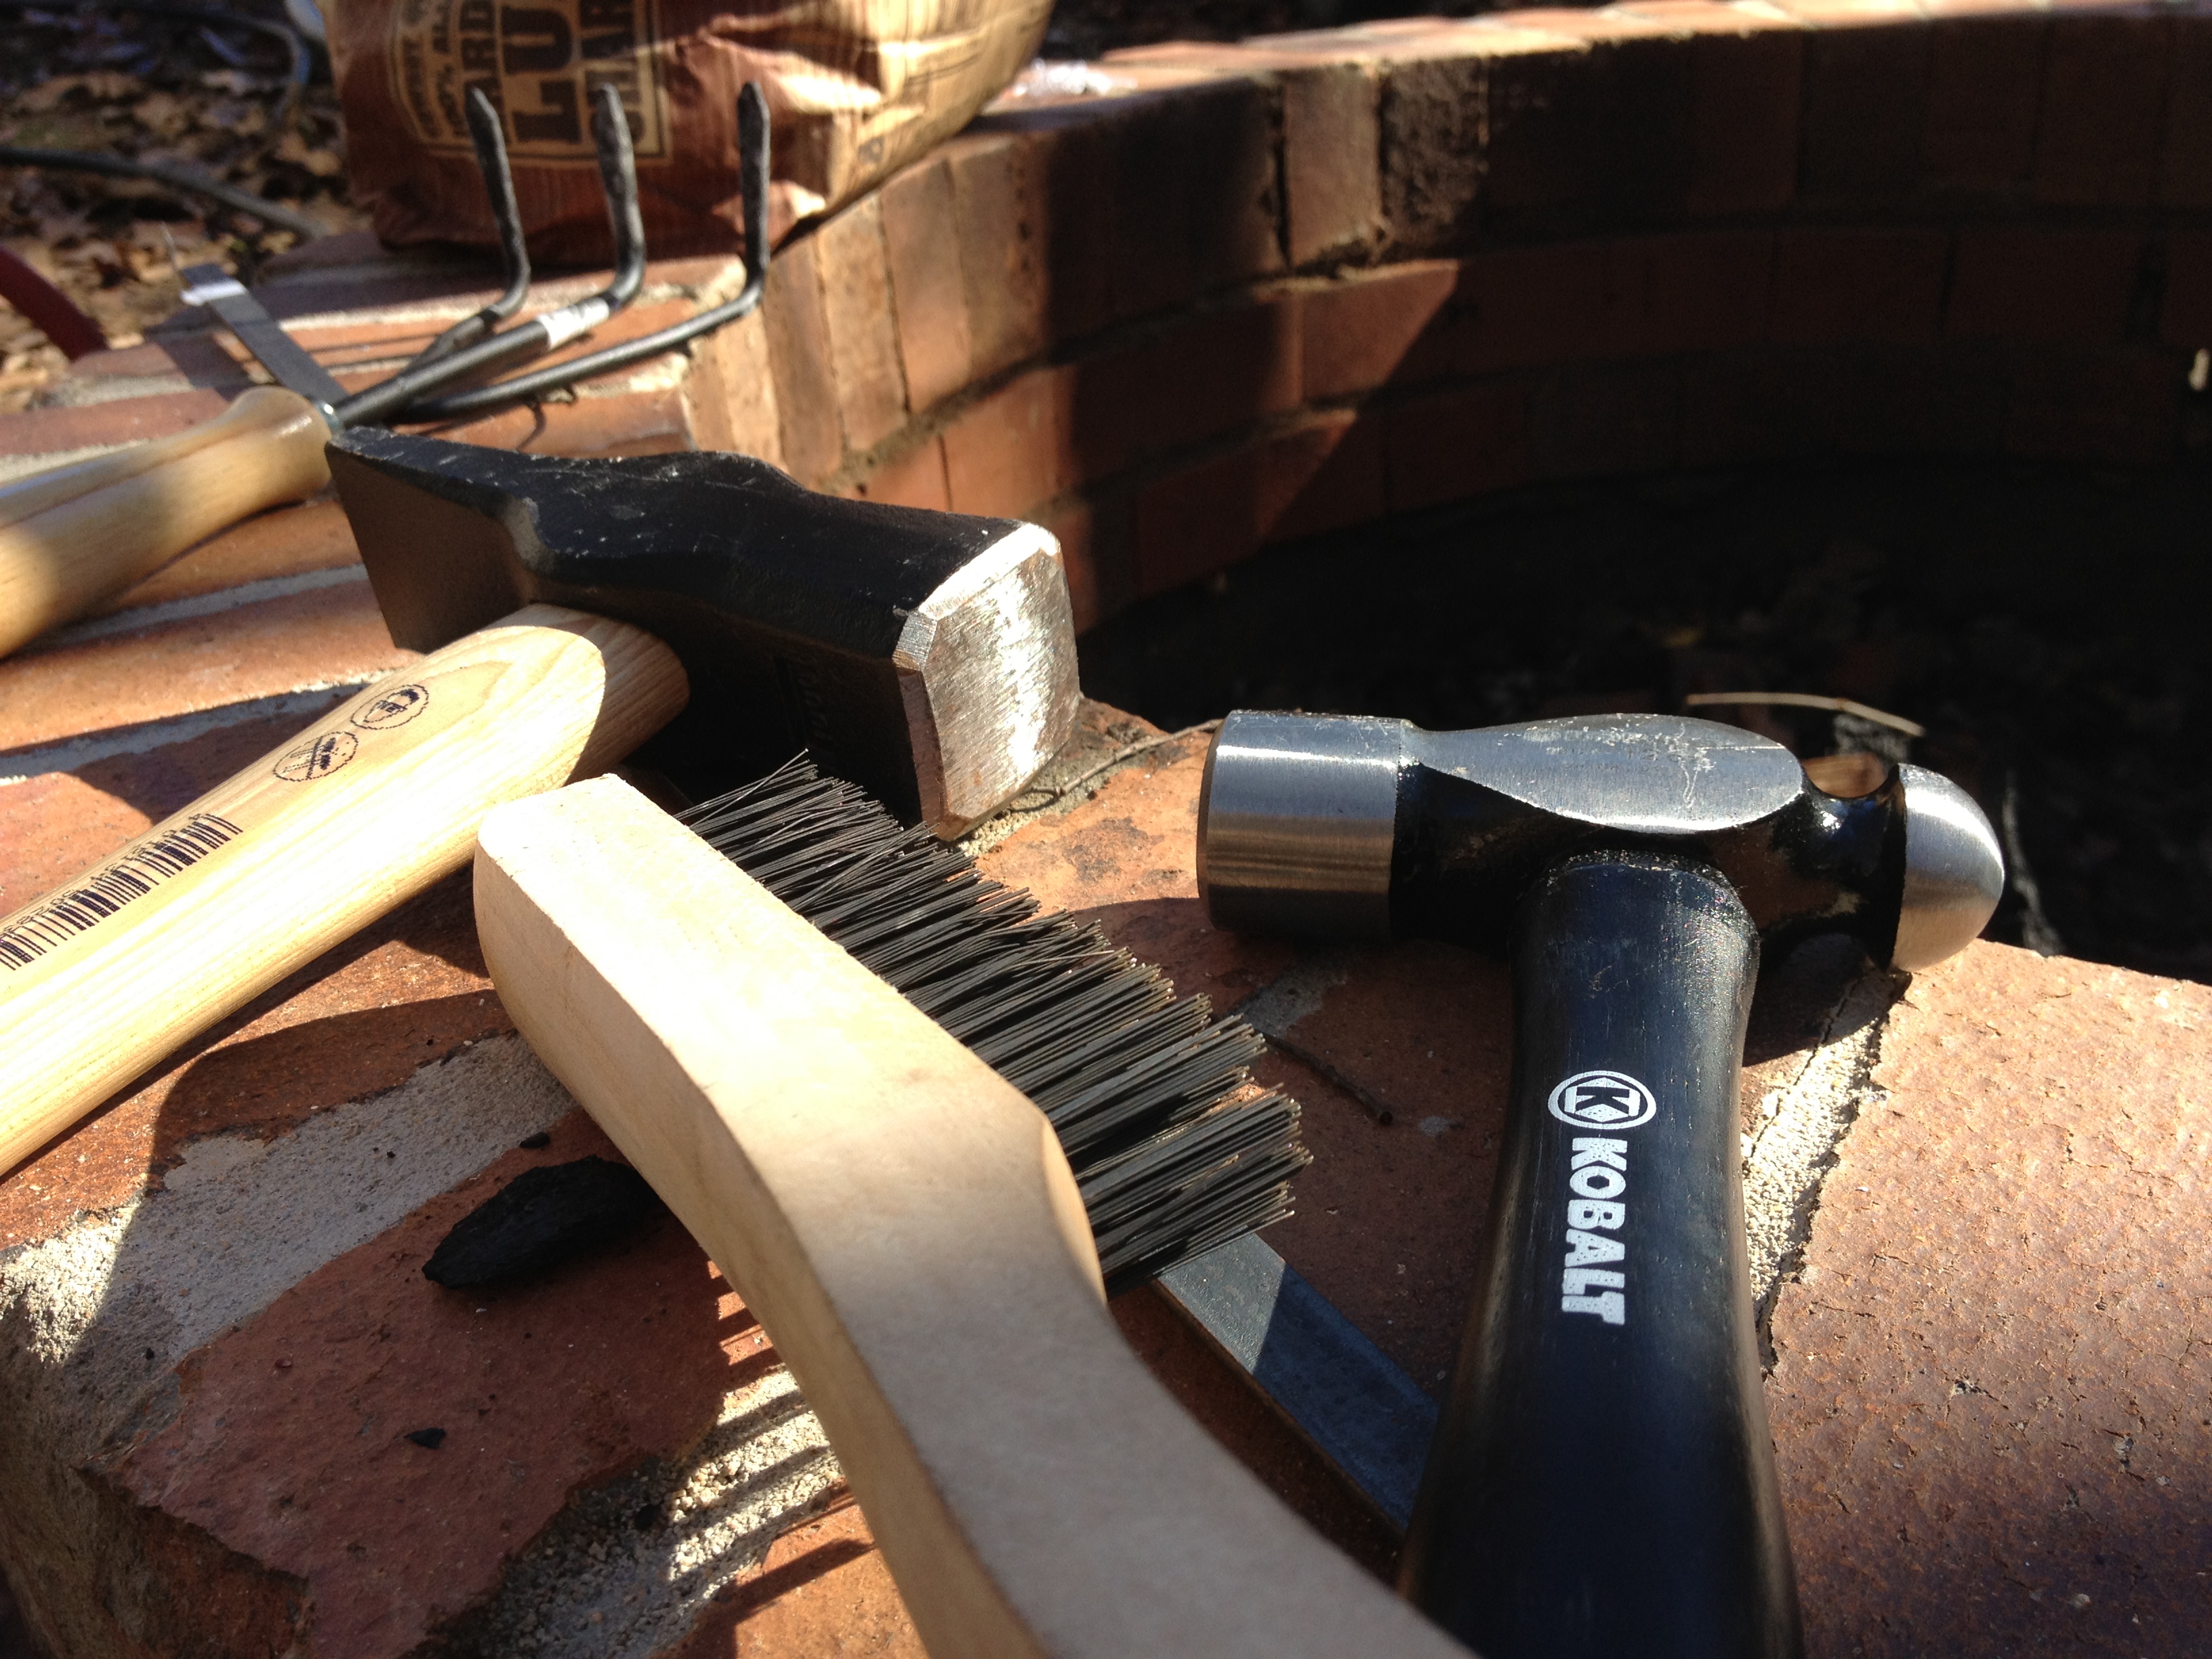
Sunday, Day 3, I started my fire, set up my equipment, and laid out my tools. Before I began, I pulled out Mike’s grinder and cut the long straight piece off of my scroll project from the day before. I wore the welding gloves my family gave me for my birthday, and sparks flew. (It was pretty awesome!)
Piece severed, I dumped the chimney starter and set my fire up in much the same fashion as Saturday but with one exception. In order to be sure I could keep the coals mounded up, I put some brickbats around the new charcoal in order to force it all together. Placed stock on coals. Waited.
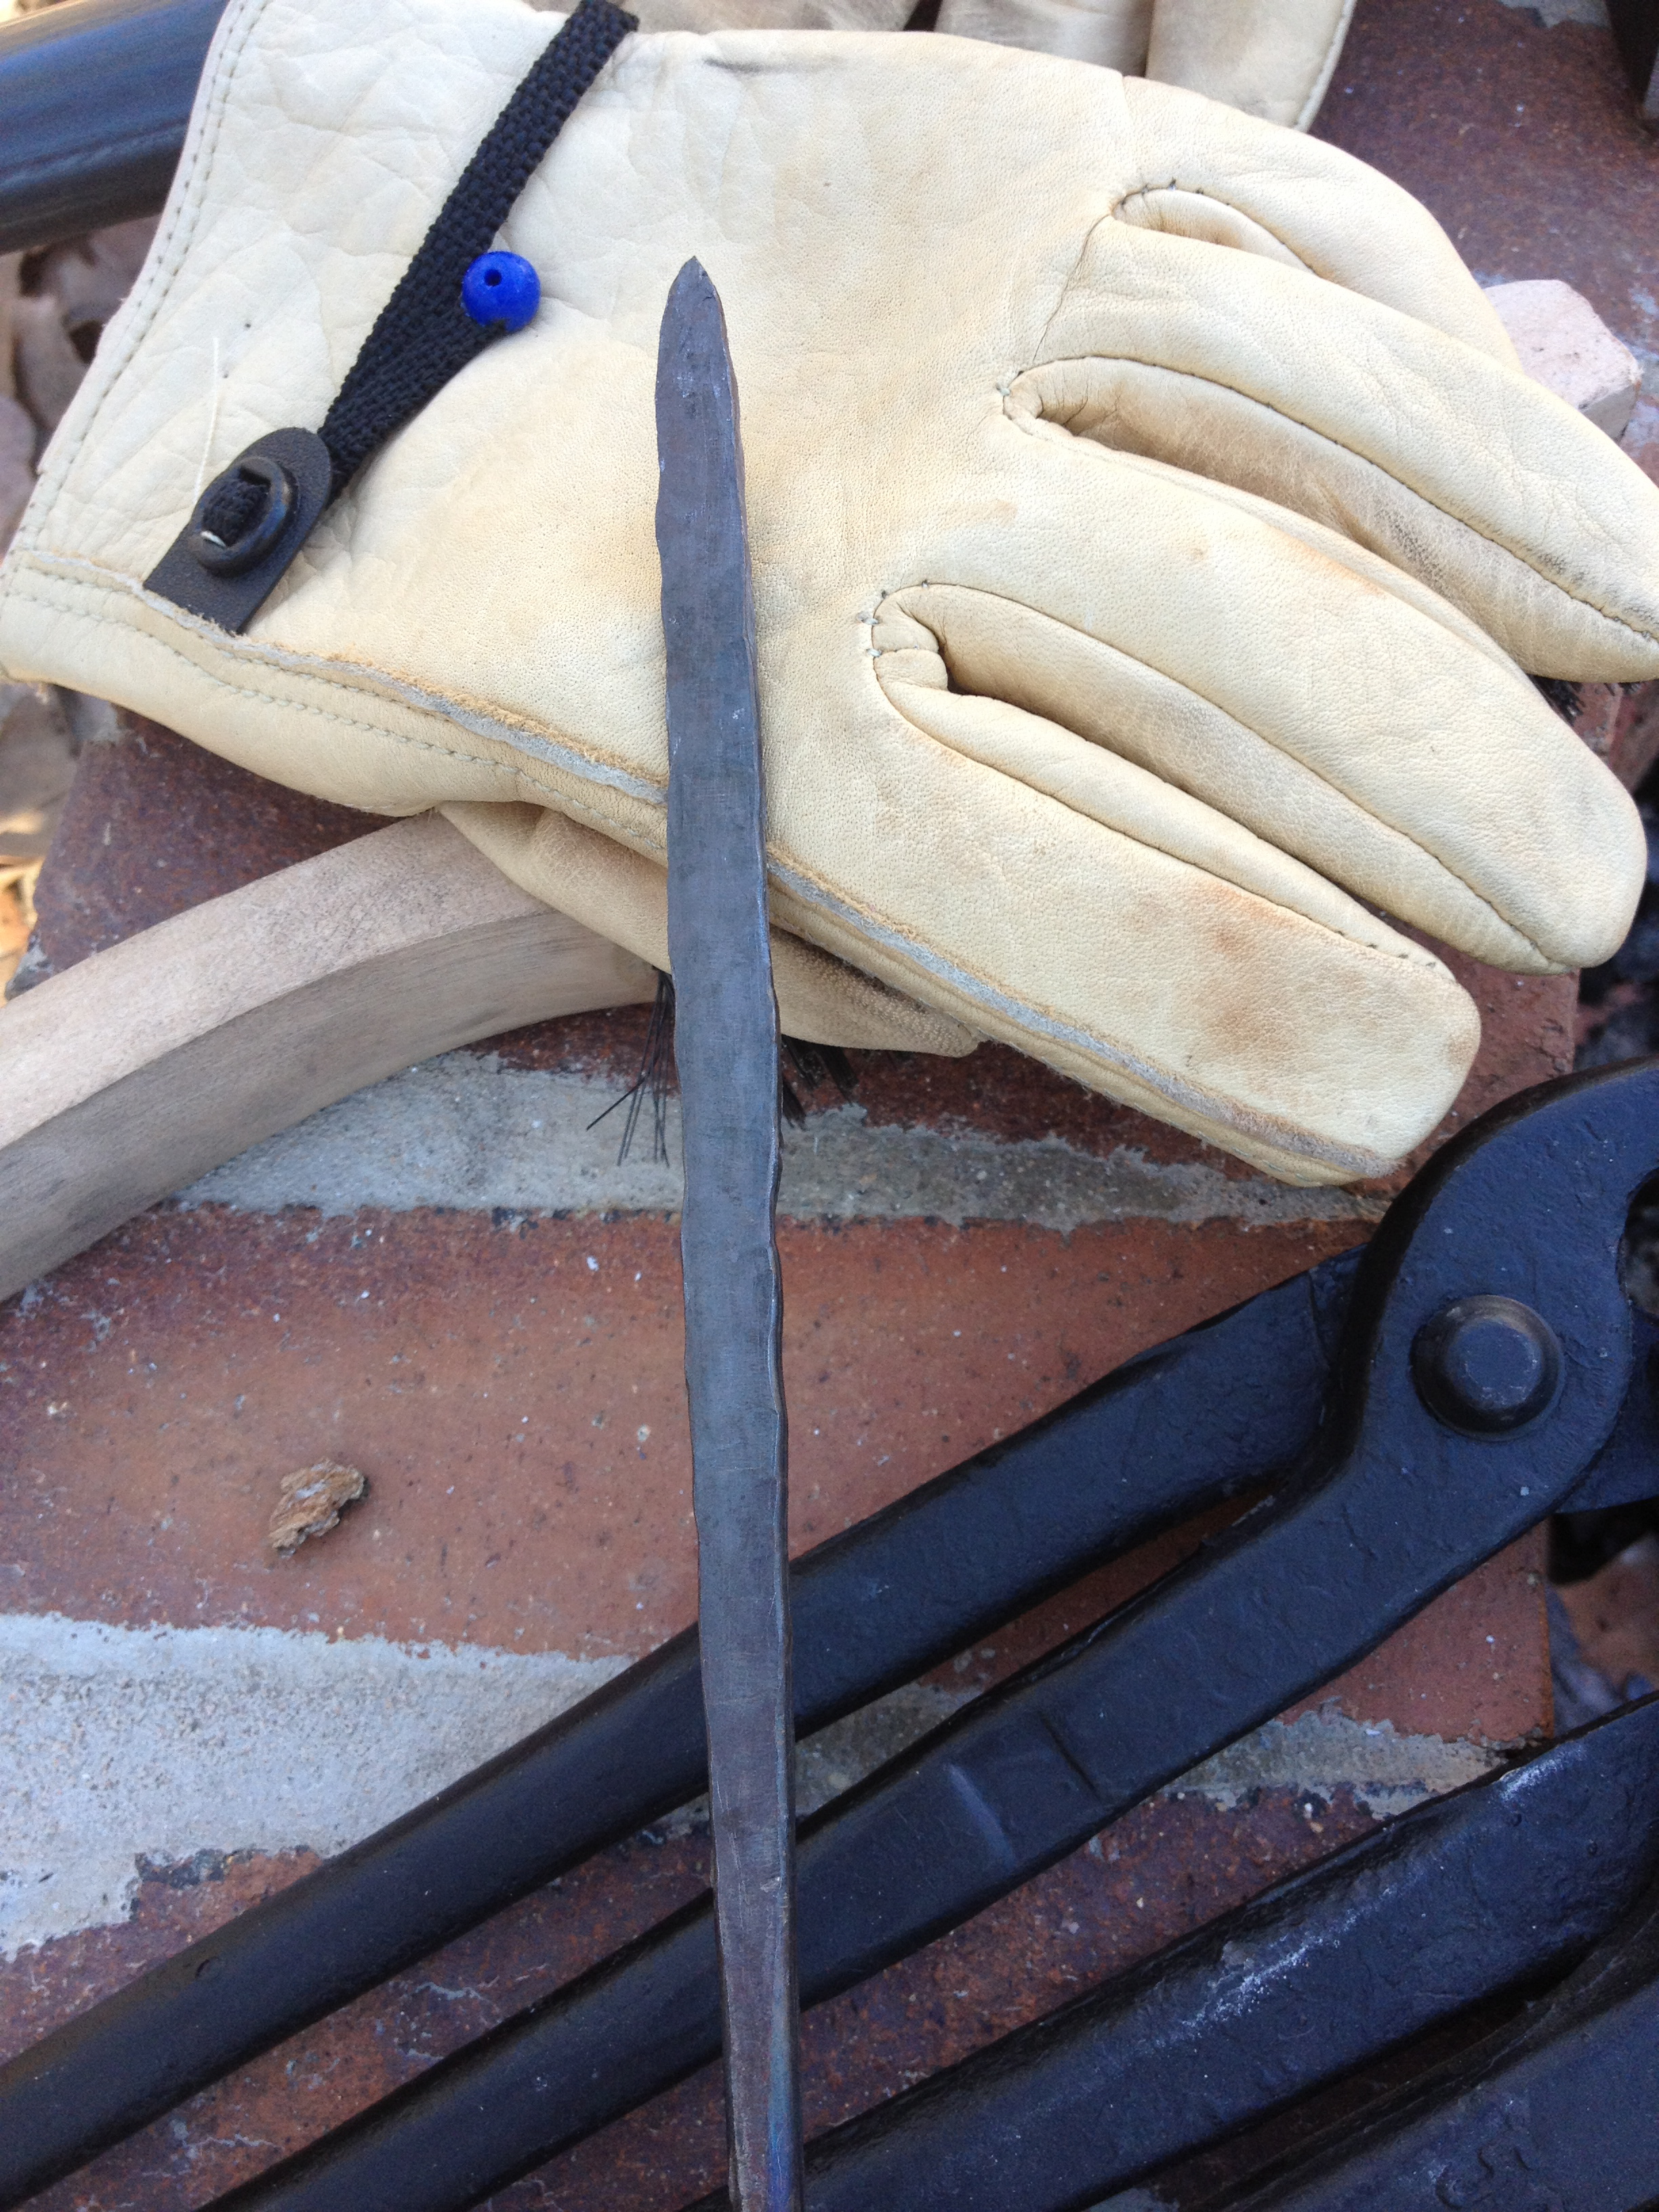
This fire was scorching. And as a result, the whole project (which just took shape as I hammered) progressed quickly and easily. I began just planning to taper – no other direction. Fortunately, I completed a much better taper than Saturday’s, so I am learning. That said because I had not upset the end, which was uneven where I had cut it with the grinder, the point of my taper is not smooth and uniform. Since my cut tool and bending fork need to be ground down in order to fit the anvil, I would have needed to use the grinder again to cut this taper off and do something else. The metal was super hot, and I didn’t want to risk it. So, I decided to flatten the stock a few inches back from the taper just for practice. But as I did, I realized the piece was taking shape as a poker, so I just flattened the taper too. Switching back and forth between my forging hammer and my much-smaller-and-easier-to-control ball peen hammer I shaped and straightened.
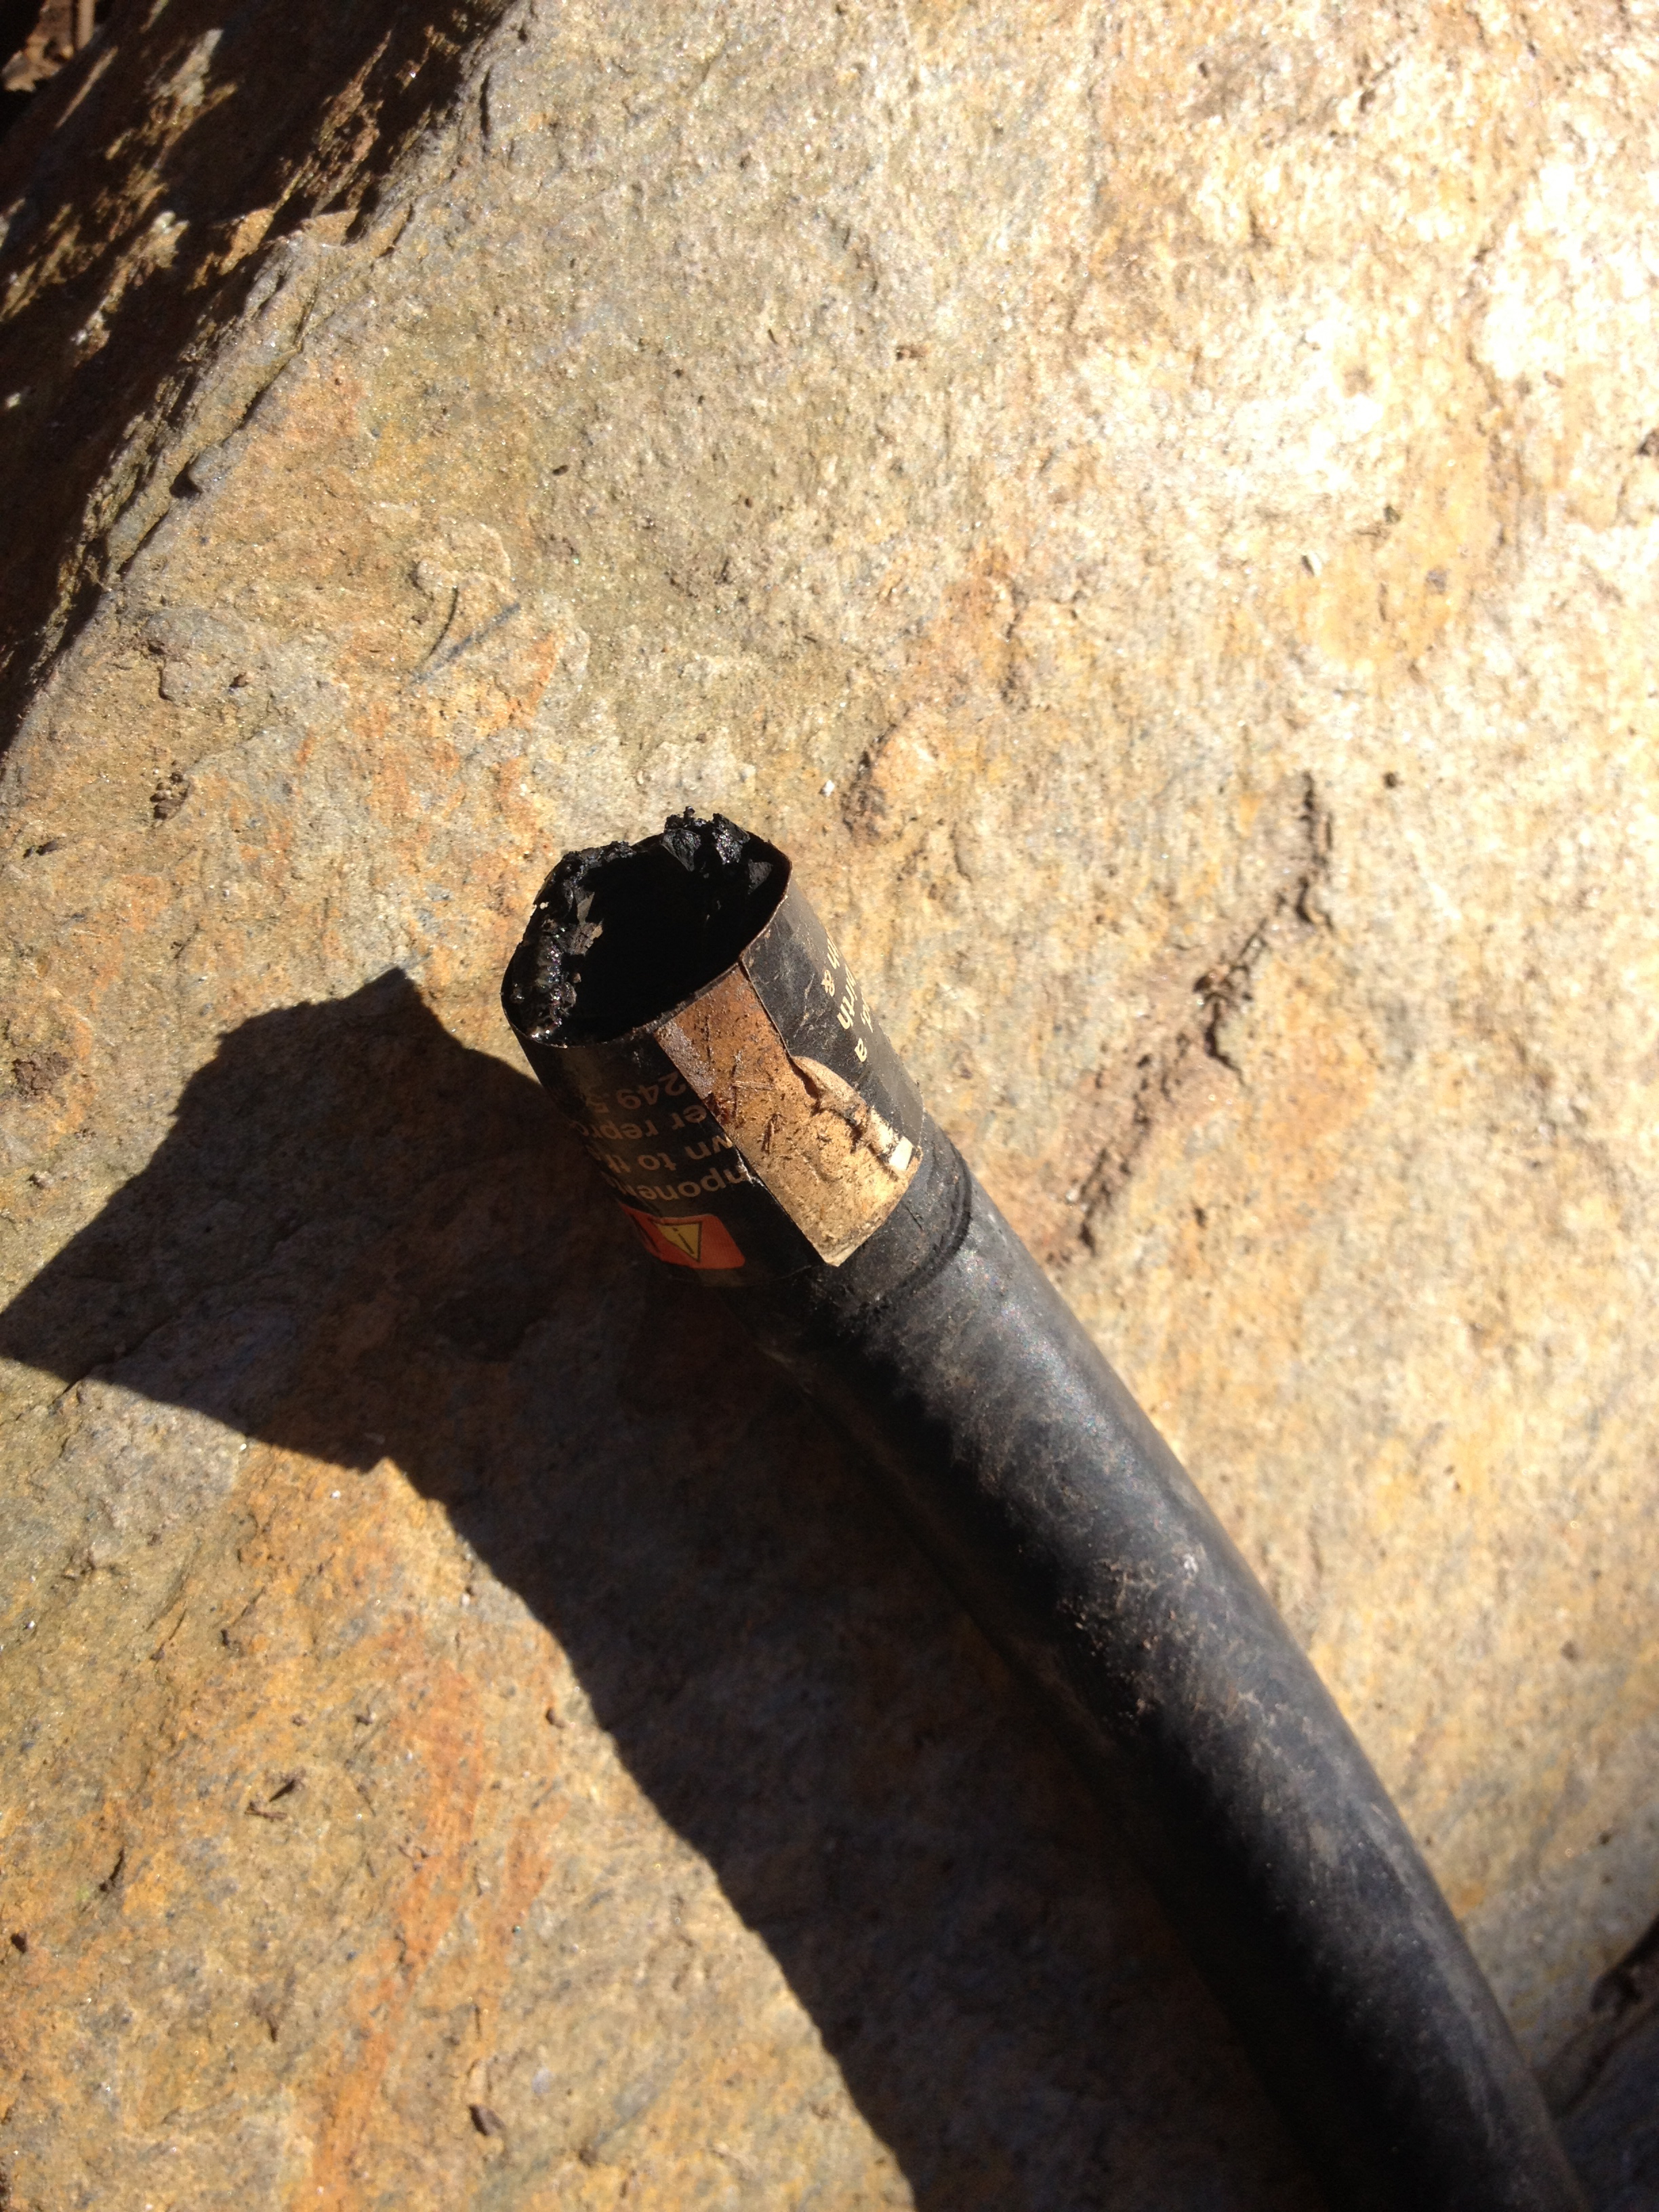
About that time, I started smelling a slightly funky odor. It took me a moment to recognize it as rubber. Grabbing the air compressor hose, I pulled it out, but it was already too late. As soon as the nozzle emerged, it flopped to the ground with a plop of finality. Well, next week, it looks like I will be purchasing an elbow and piece of pipe so I can get the hose further from the forge box. As the fire died down, I tweaked my project just a little more, straightening edges and evening out the flat surface.

And so ended Days 2 & 3. A few more burns (little ones), some more knowledge and experience, a blister, a broken blister, and some really hot fires later, I am eager for Day 4.
Leave a Reply