How to Get an “Old” Edge on Paper
Some years ago, a coworker left Tutorial Services at UNCC where I was employed at the time. Josh was a key figure in our department and would be greatly missed, so in good Tutorial Services fashion, we threw him a going away party. Josh wasn’t really a cake person. It wasn’t that he disliked cake (if I remember correctly), but he just liked cookies better – so much better. If Cookie Monster is real, I firmly believe he is Josh. So we made dozens of cookies. Also, rather than just having everyone sign a card, we decided to make a going-away book, vintage travel themed. Many in our department wrote him a note, and I added pictures to their pages. It was pretty neat.
Because of the theme, and because I love anything old, I decided it would look really cool if the notes had “old” looking edges. When I say old, I mean that pirate treasure map look. While discussing my idea with one of my tutors, Alexandria, I found she knew exactly how to give paper that edge. (She is also a wealth of other good information, but I want to focus on this one right now.) So I tried what she suggested, and it worked beautifully.
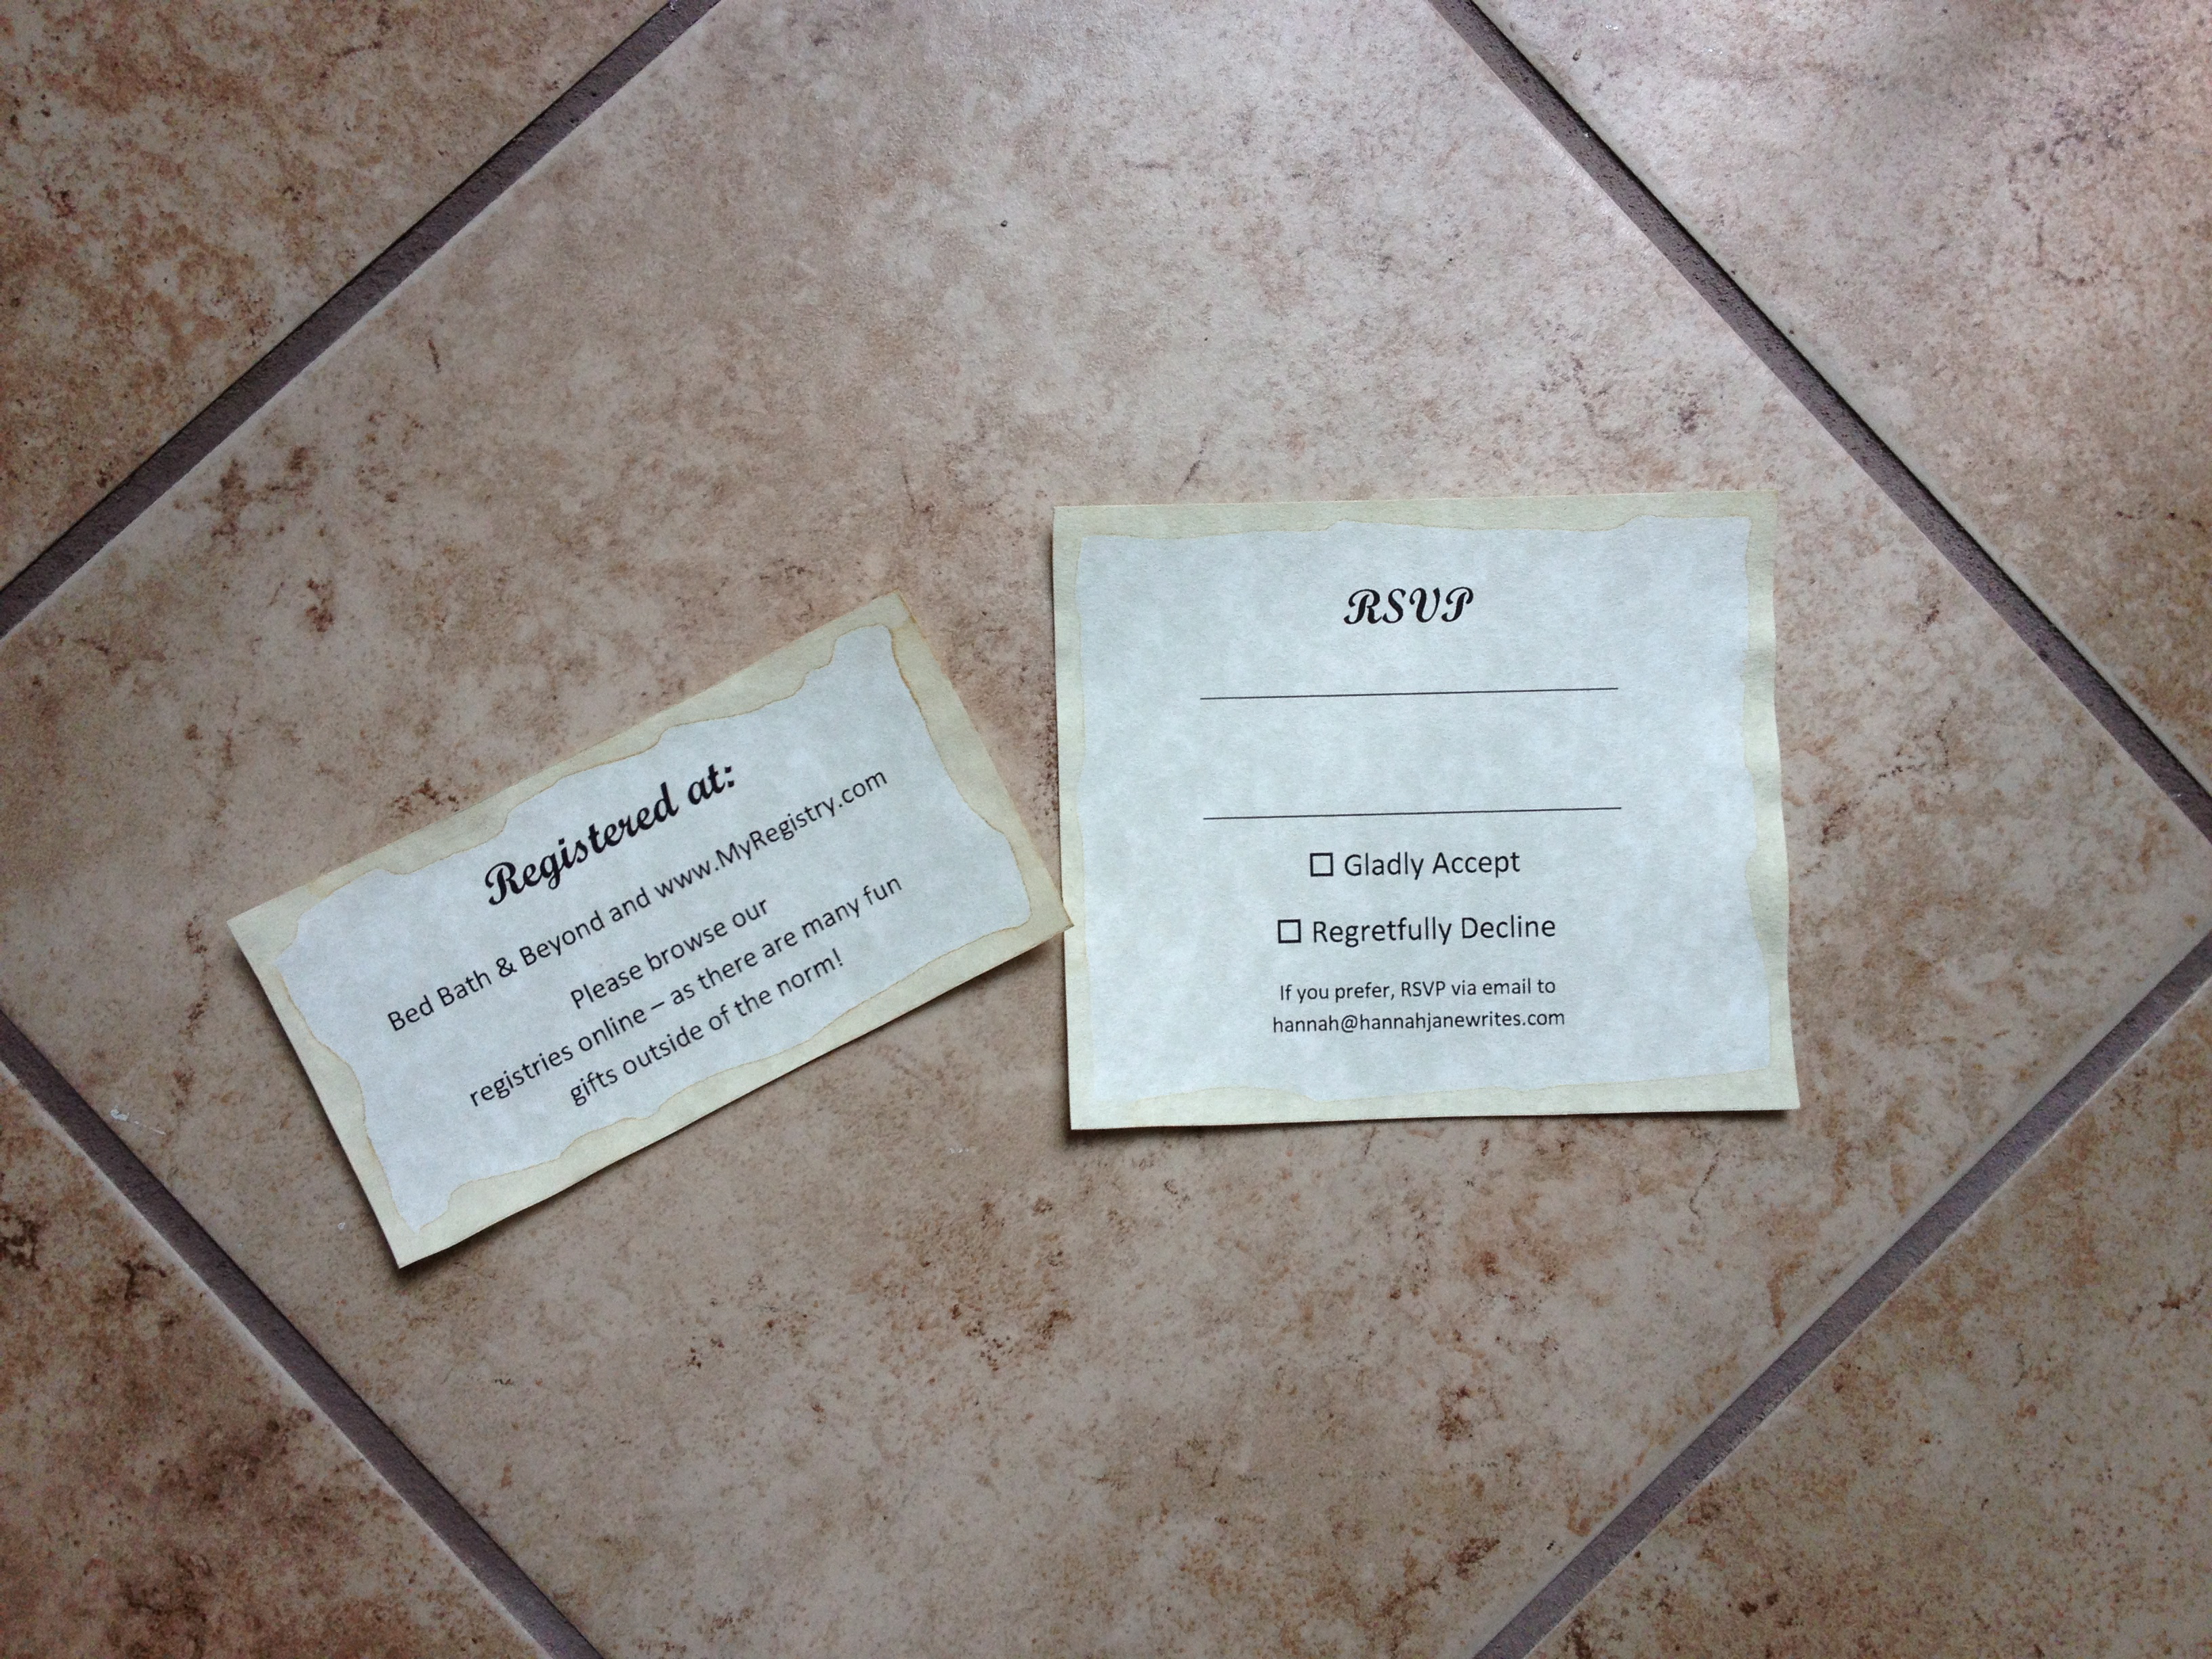
When Mike and I did the invitations for our wedding, we made the Registry and RSVP inserts ourselves, and of course, I went for the “old” edge. Again, it turned out beautifully, and best of all, it’s easier than you think.
What you’ll need: Paper (I used parchment here because it looks older already), some towels (paper or real are fine) to wipe your fingers, and black coffee.
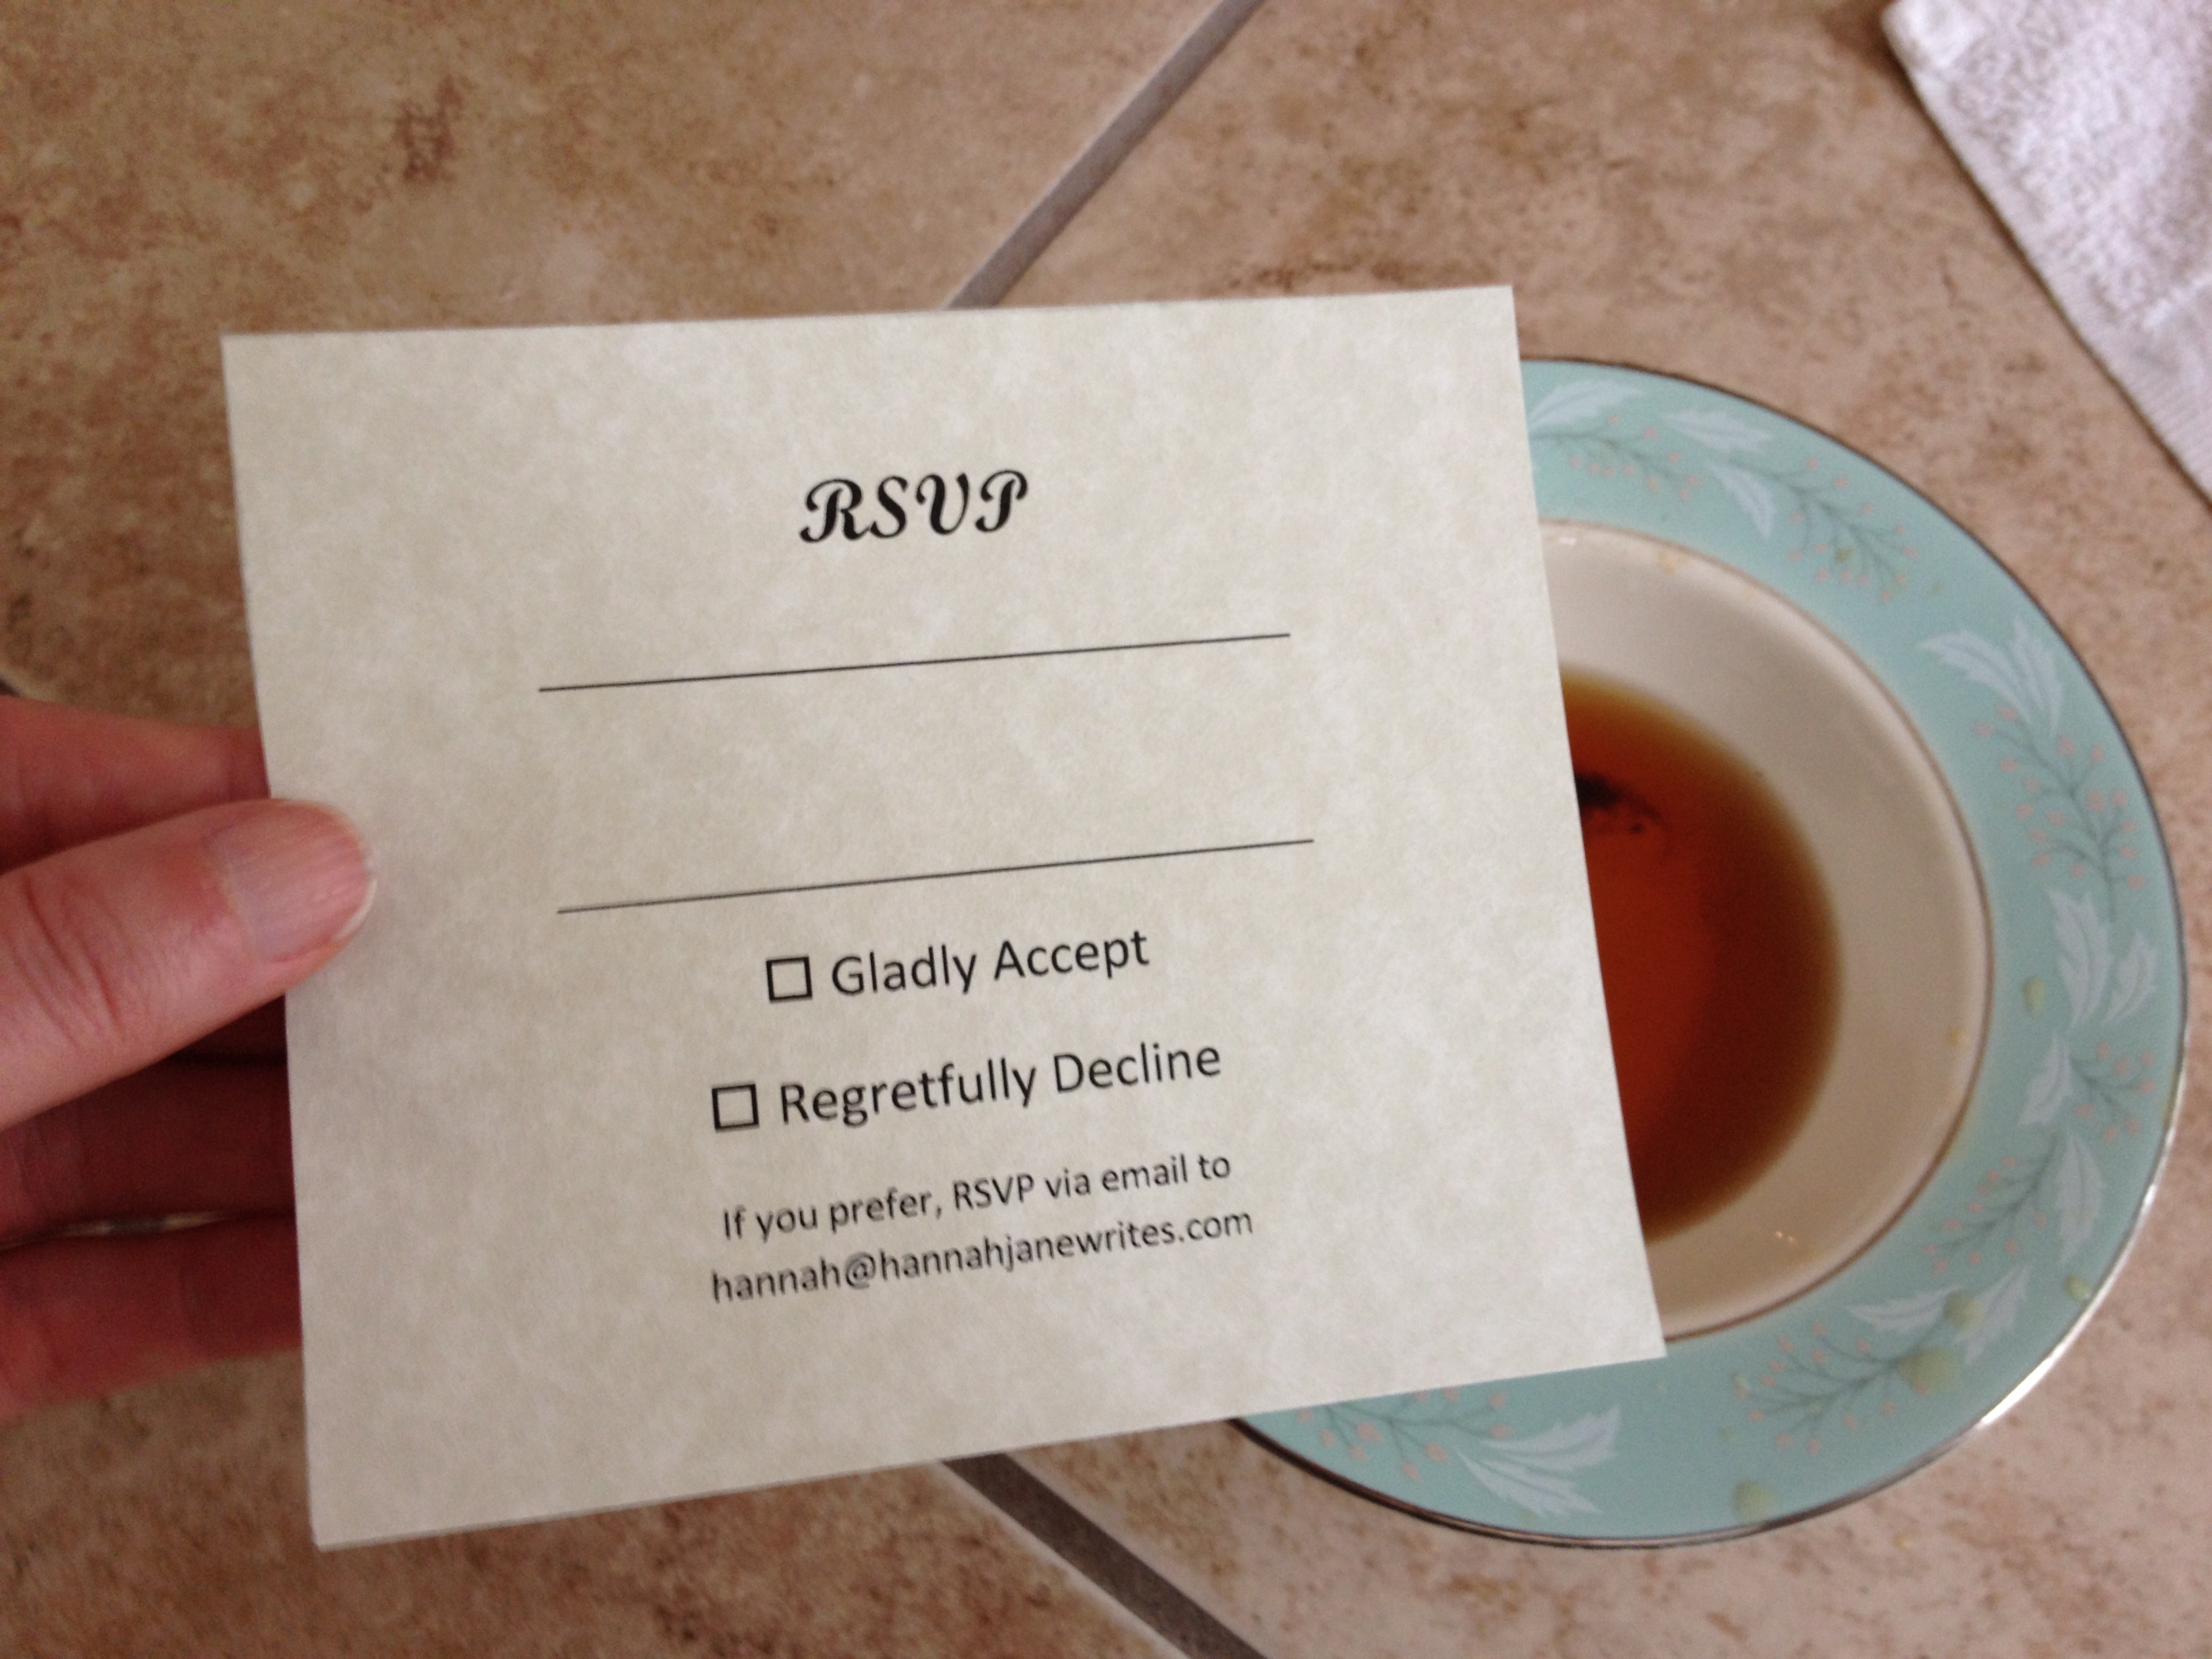
What you do: If you want a tattered, old edge (like the treasure map), tear the paper so the edge isn’t clean cut. For the pieces that went in my wedding invites, I used the clean edge. Dip your finger in the coffee and run it quickly along the edge of the paper. Repeat as necessary to coat each edge. Set the paper aside to dry.
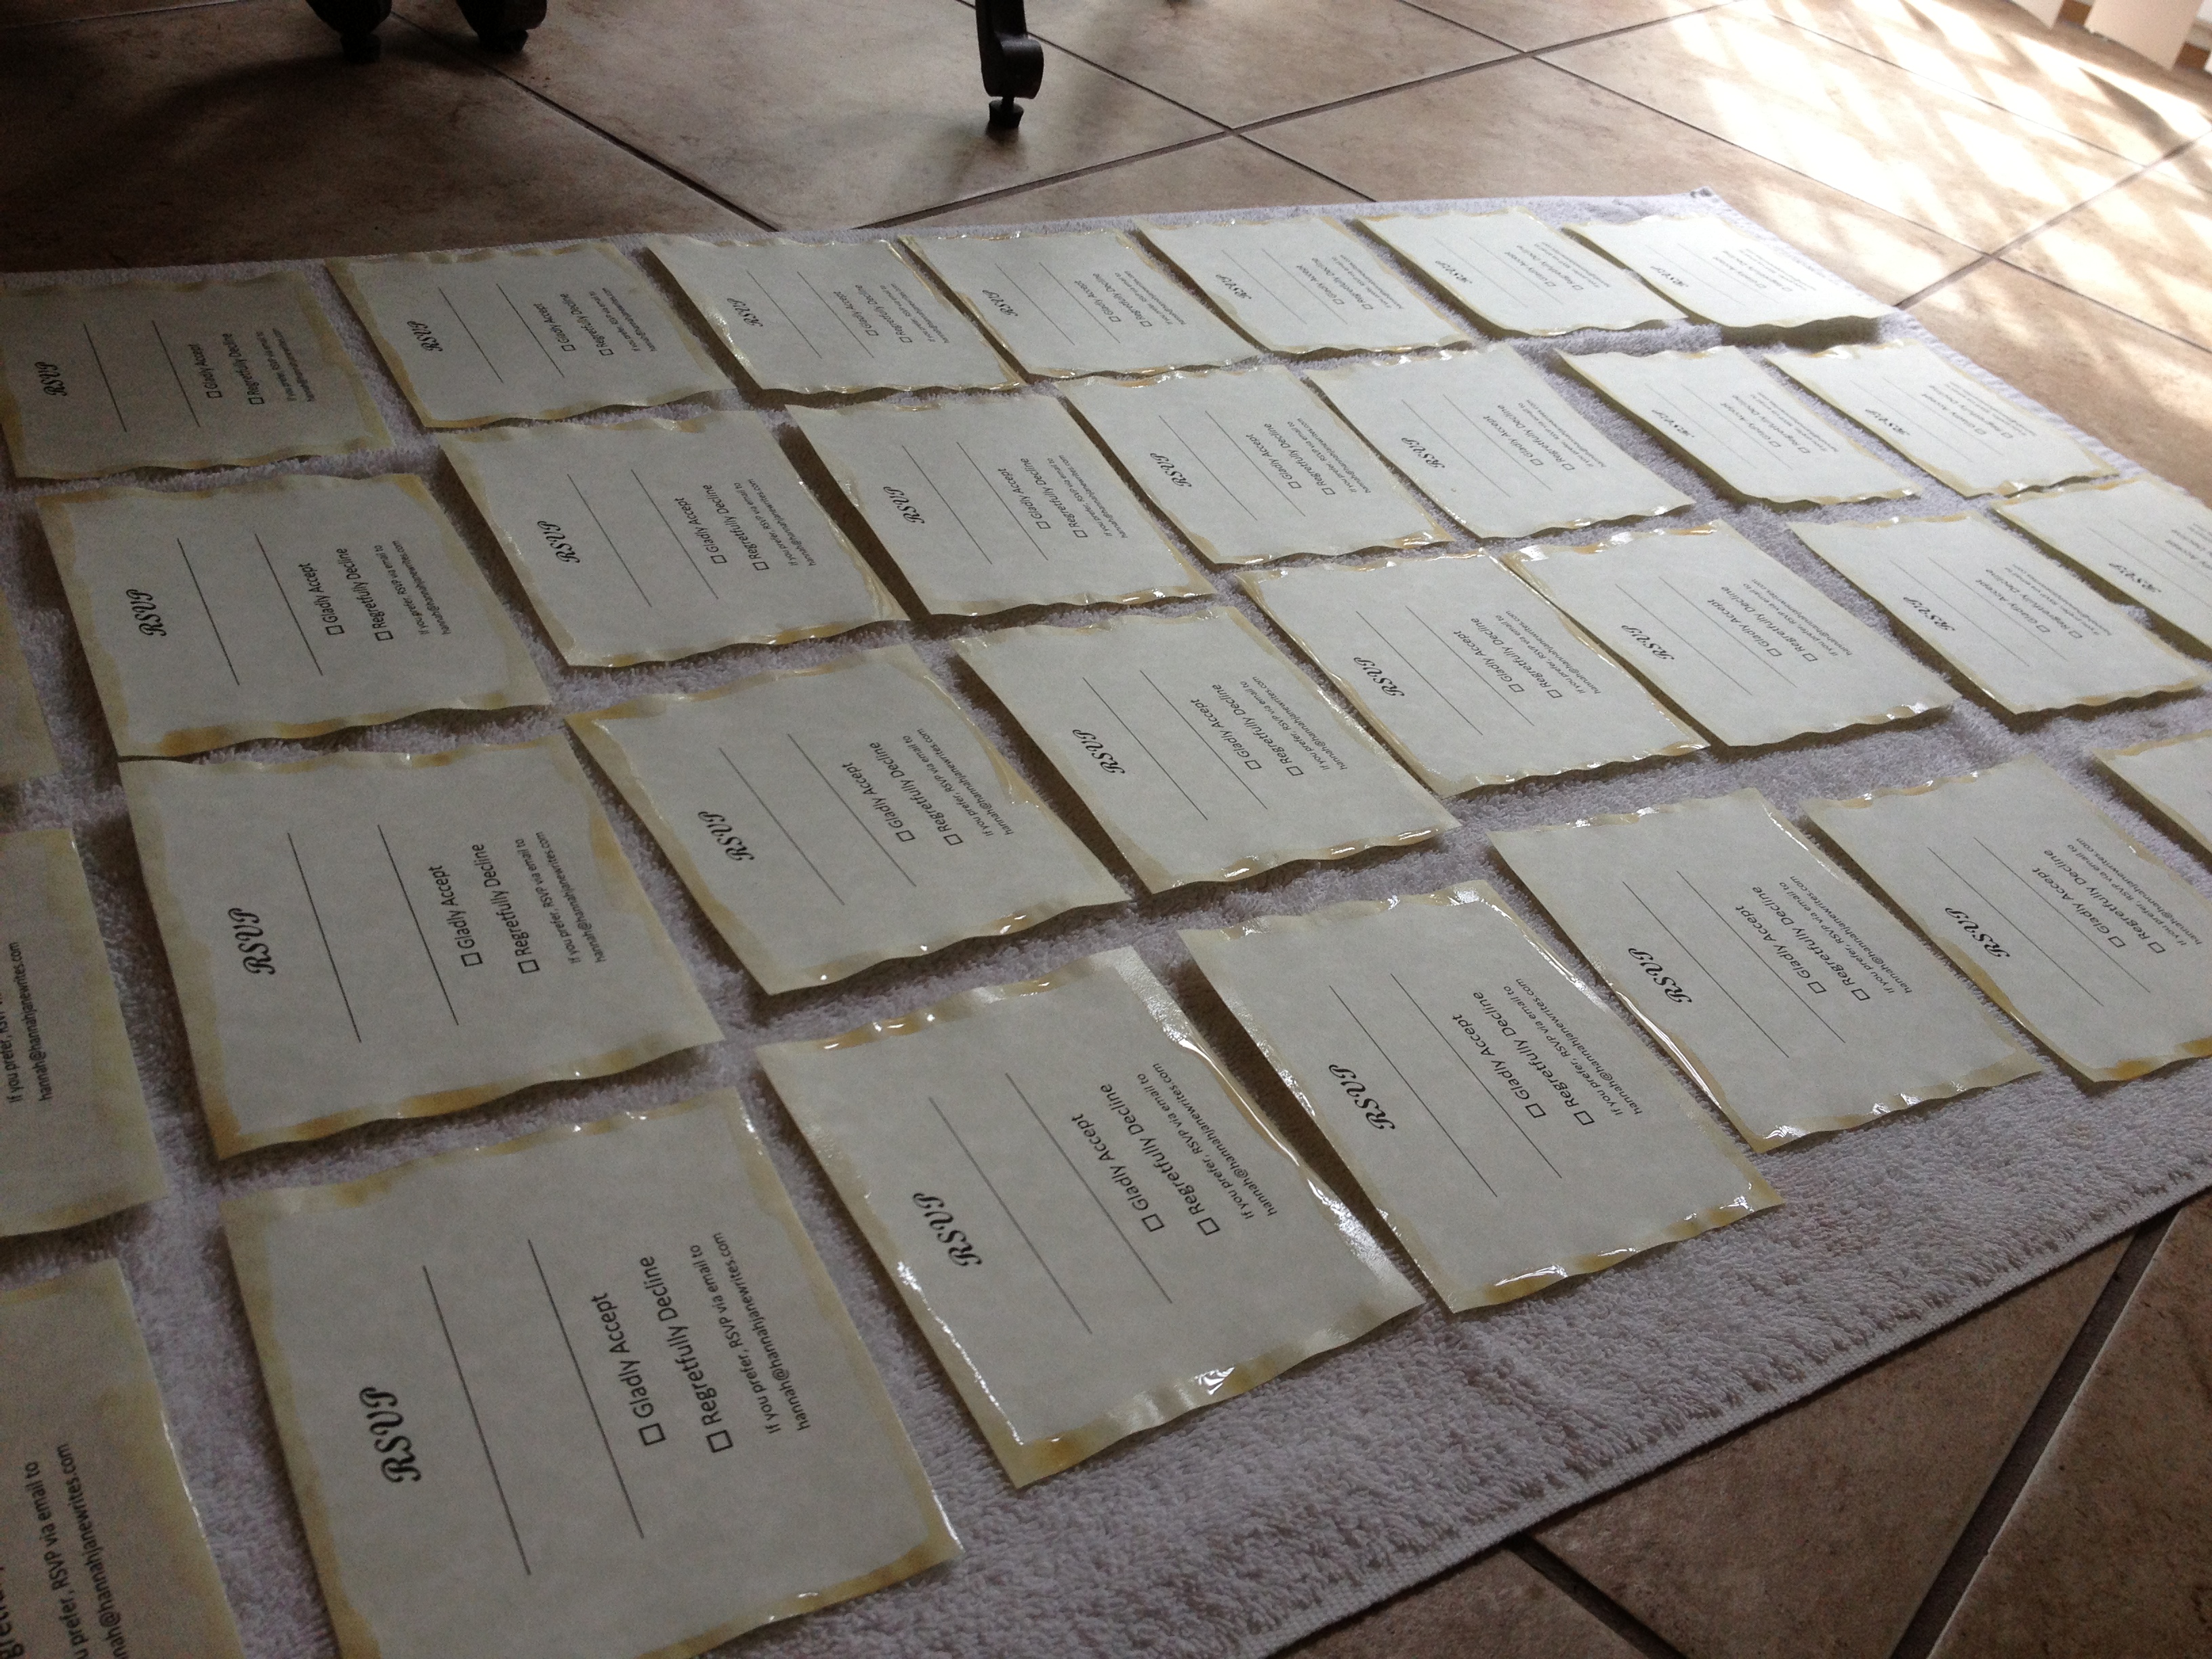
If you’re doing more than one piece, don’t forget to wipe your fingers off before you pick up the next one, or you may end up with dark spots all over it.
Note that because the coffee is wet, it’s going to cause the edges to buckle. This will create little pools for excess coffee to hang out. As the more mountainous regions of the paper dry out, you may want to pat some of the coffee pools with a paper towel, especially if they’re larger. One way or the other, they will dry out given enough time.
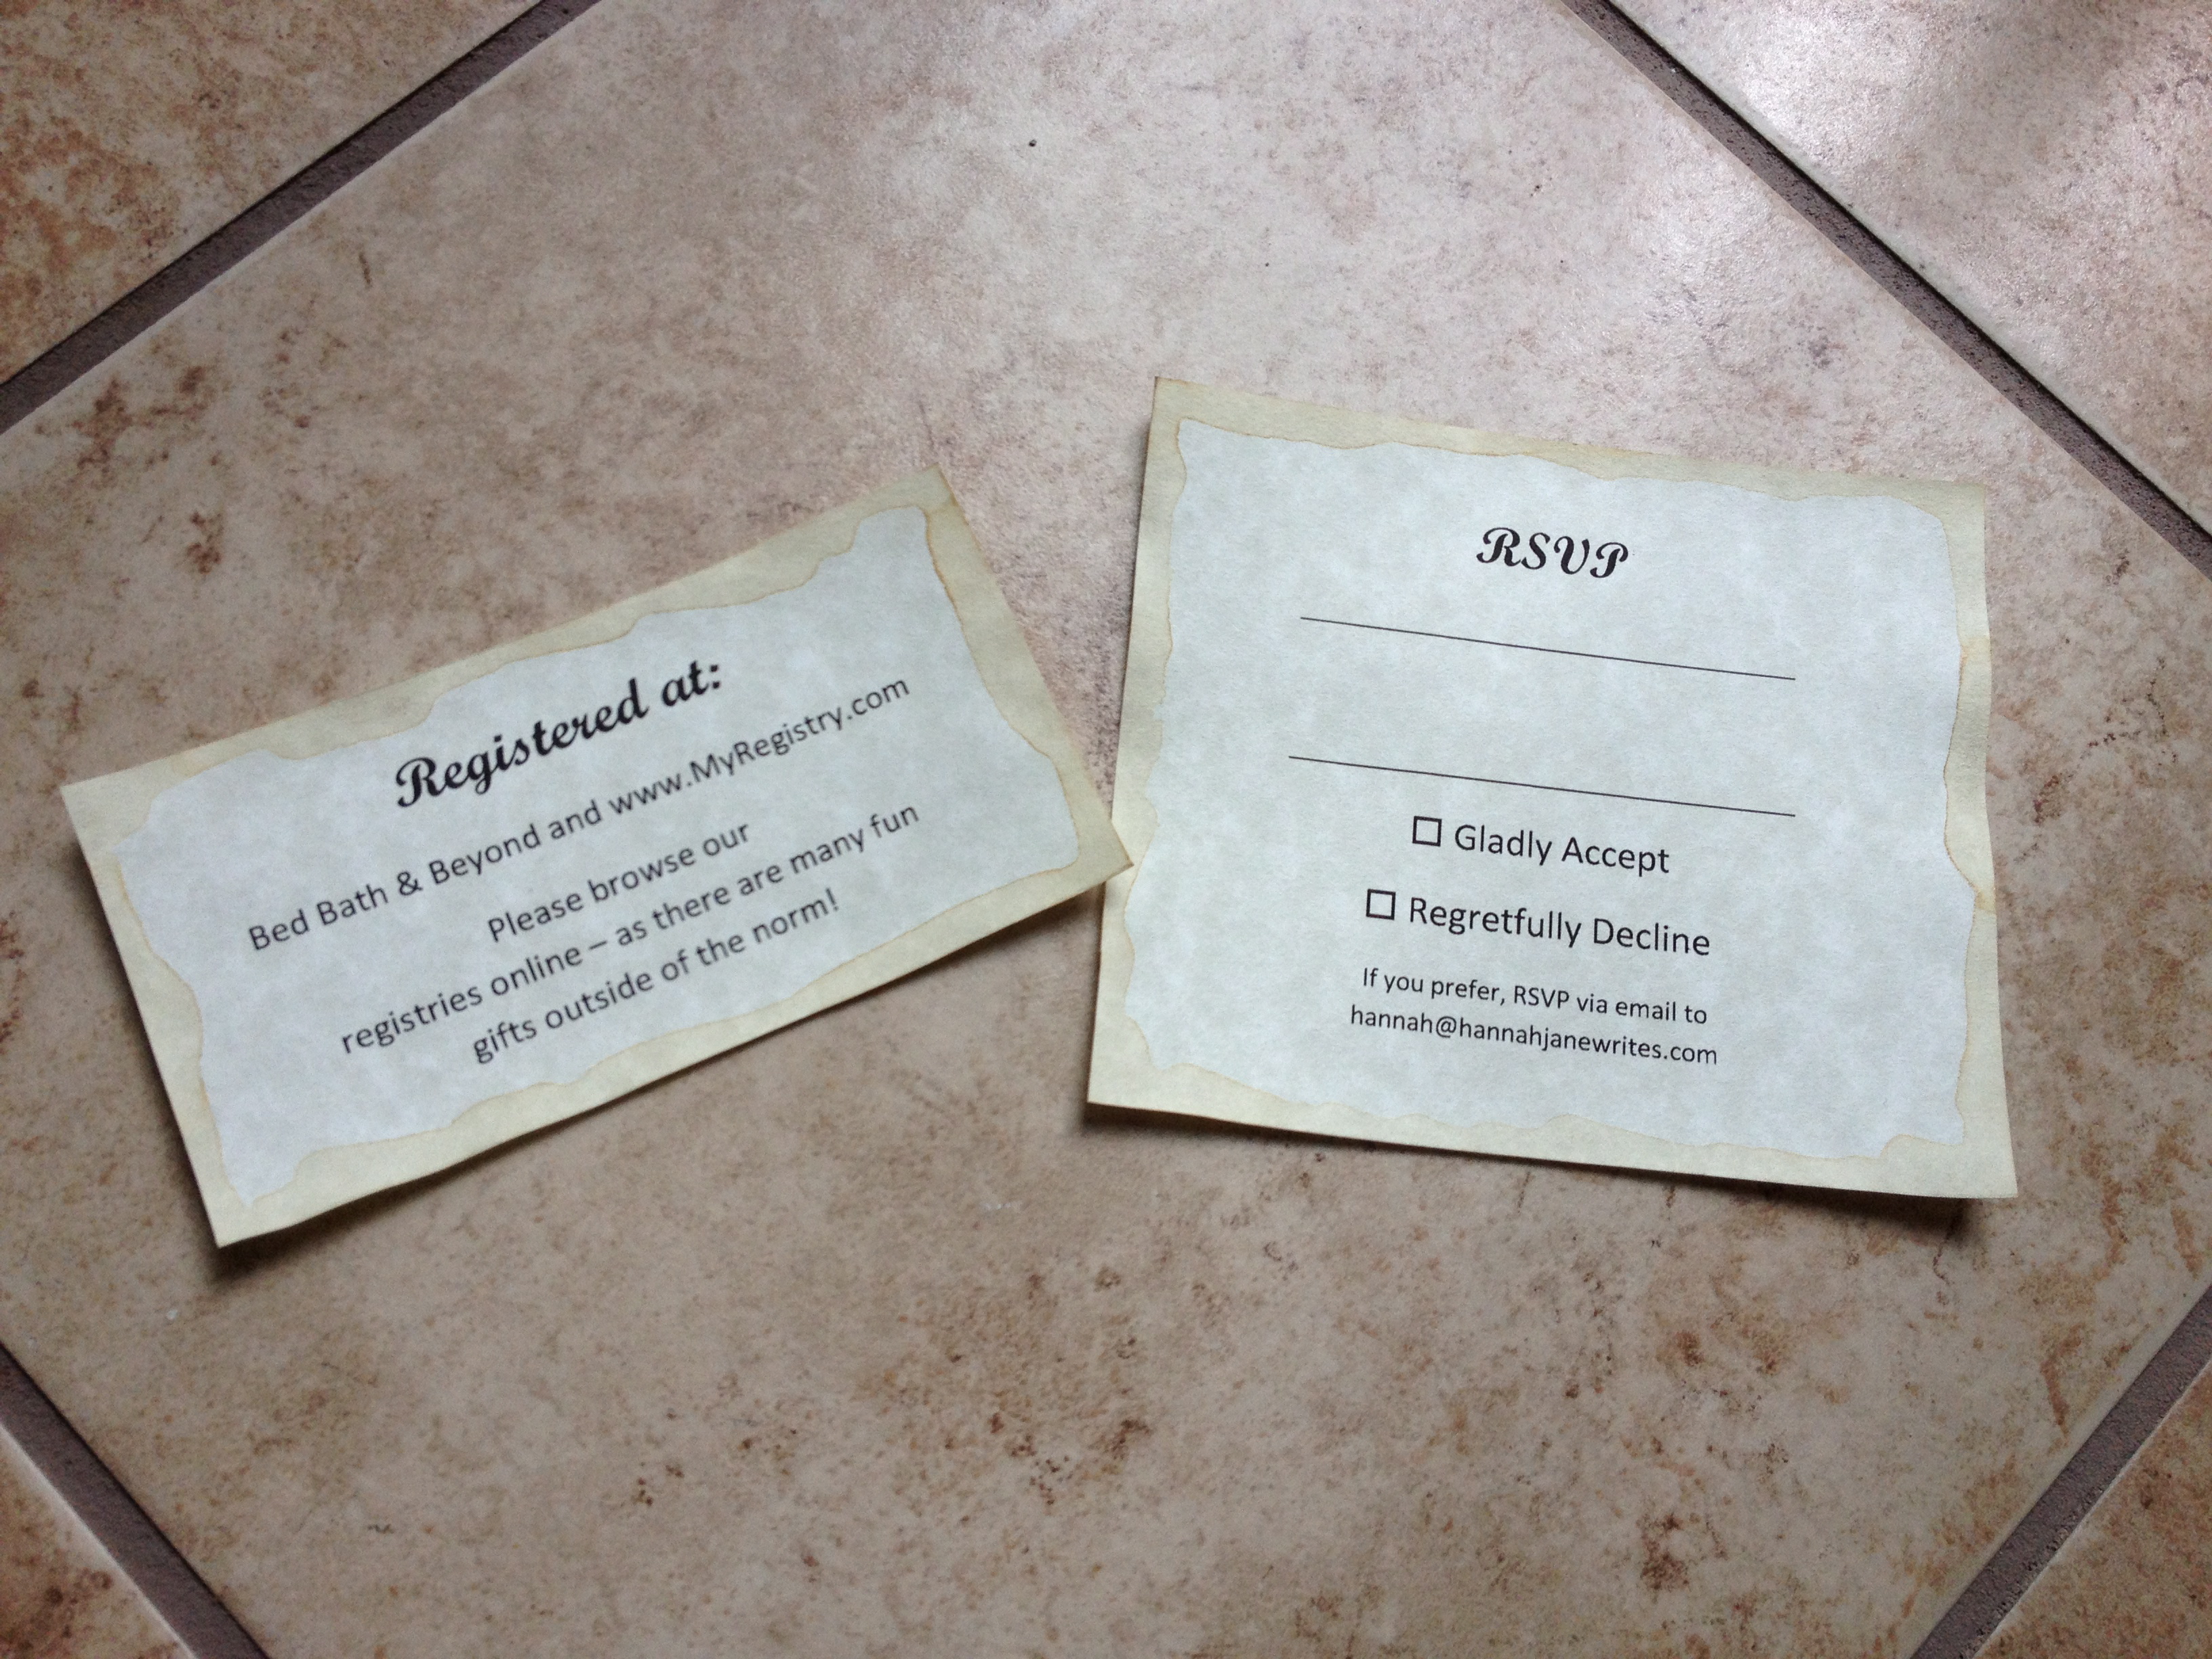
Once the edges have dried out, they’ll be a lovely, light brown with nice gradients, and especially when parchment or a cream paper is used, they’ll look down right old.
Leave a Reply