Adventures in Blacksmithing: A Rack for Cast Iron Skillets
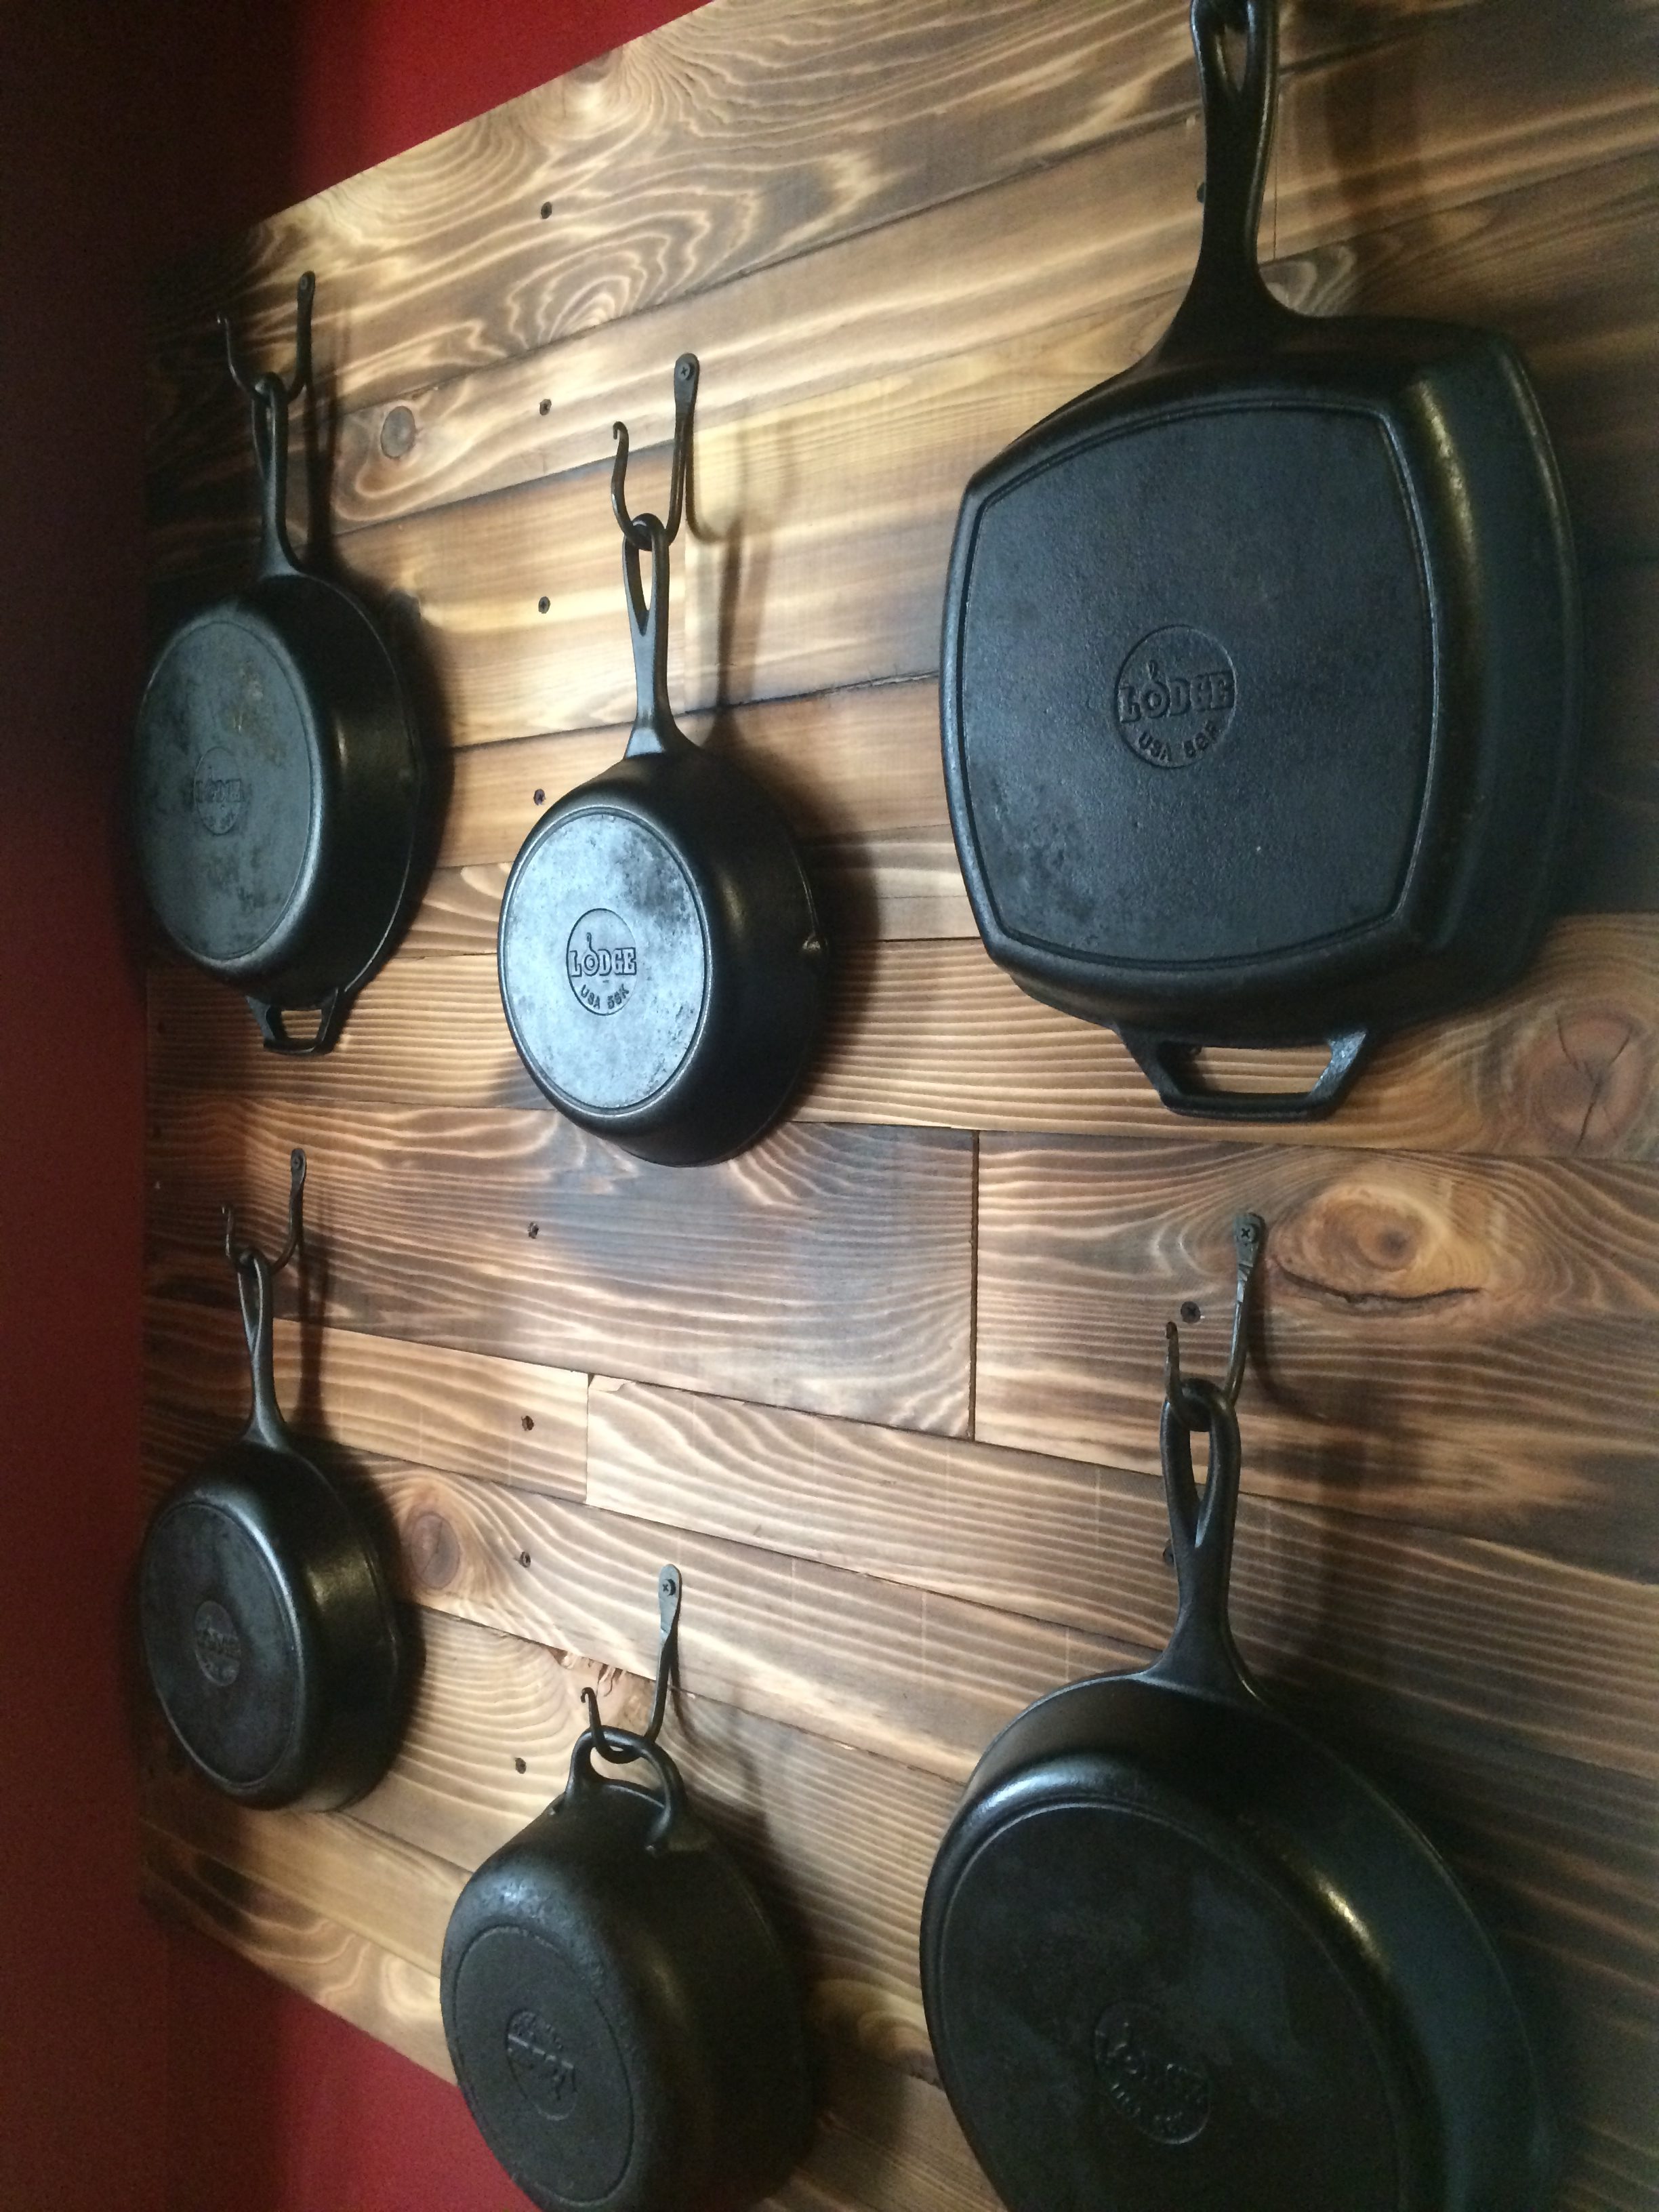
Mike and I have a problem. Wise people say that admitting you have a problem is the first step to recovery. I’m happy to report that we are now recovering. Our problem was a cast iron problem. We have a number of cast iron skillets and dutch ovens in a variety of sizes. We use them all because the only other frying pan I own is stainless (and I only use it for eggs), so believe it or not, our collection is not pointless. However, it is extremely bulky and heavy, and extracting the desired pan has been an ordeal for many years because the pans were all stacked. Fortunately, Mike and I also have another problem – a wall opposite the pantry that until last week was simply blank, boring, and wasted, but having admitted our problem, we put our heads together and laid our cast iron and blank wall issues to rest for now.
If you didn’t know already, Mike and I really enjoy doing projects together, and fortunately, we have differing interests that more often than not complement one another. Mike really enjoys working with wood, and I am, obviously, a novice blacksmith. So when we decided to make a rack for our cast iron pans, we determined early on that it would be crafted of both wood and metal. The result of our collaboration was a rack with a cedar back and hand-forged hooks.
 Last year, I did not get to do anywhere near as much blacksmithing as I wanted between the summertime burn ban we had in North Carolina because of a severe drought and a shoulder dislocation that took some months for recovery. I only got to work a handful of times and was not focused on any specific project but really just playing around. It was good to have a project again.
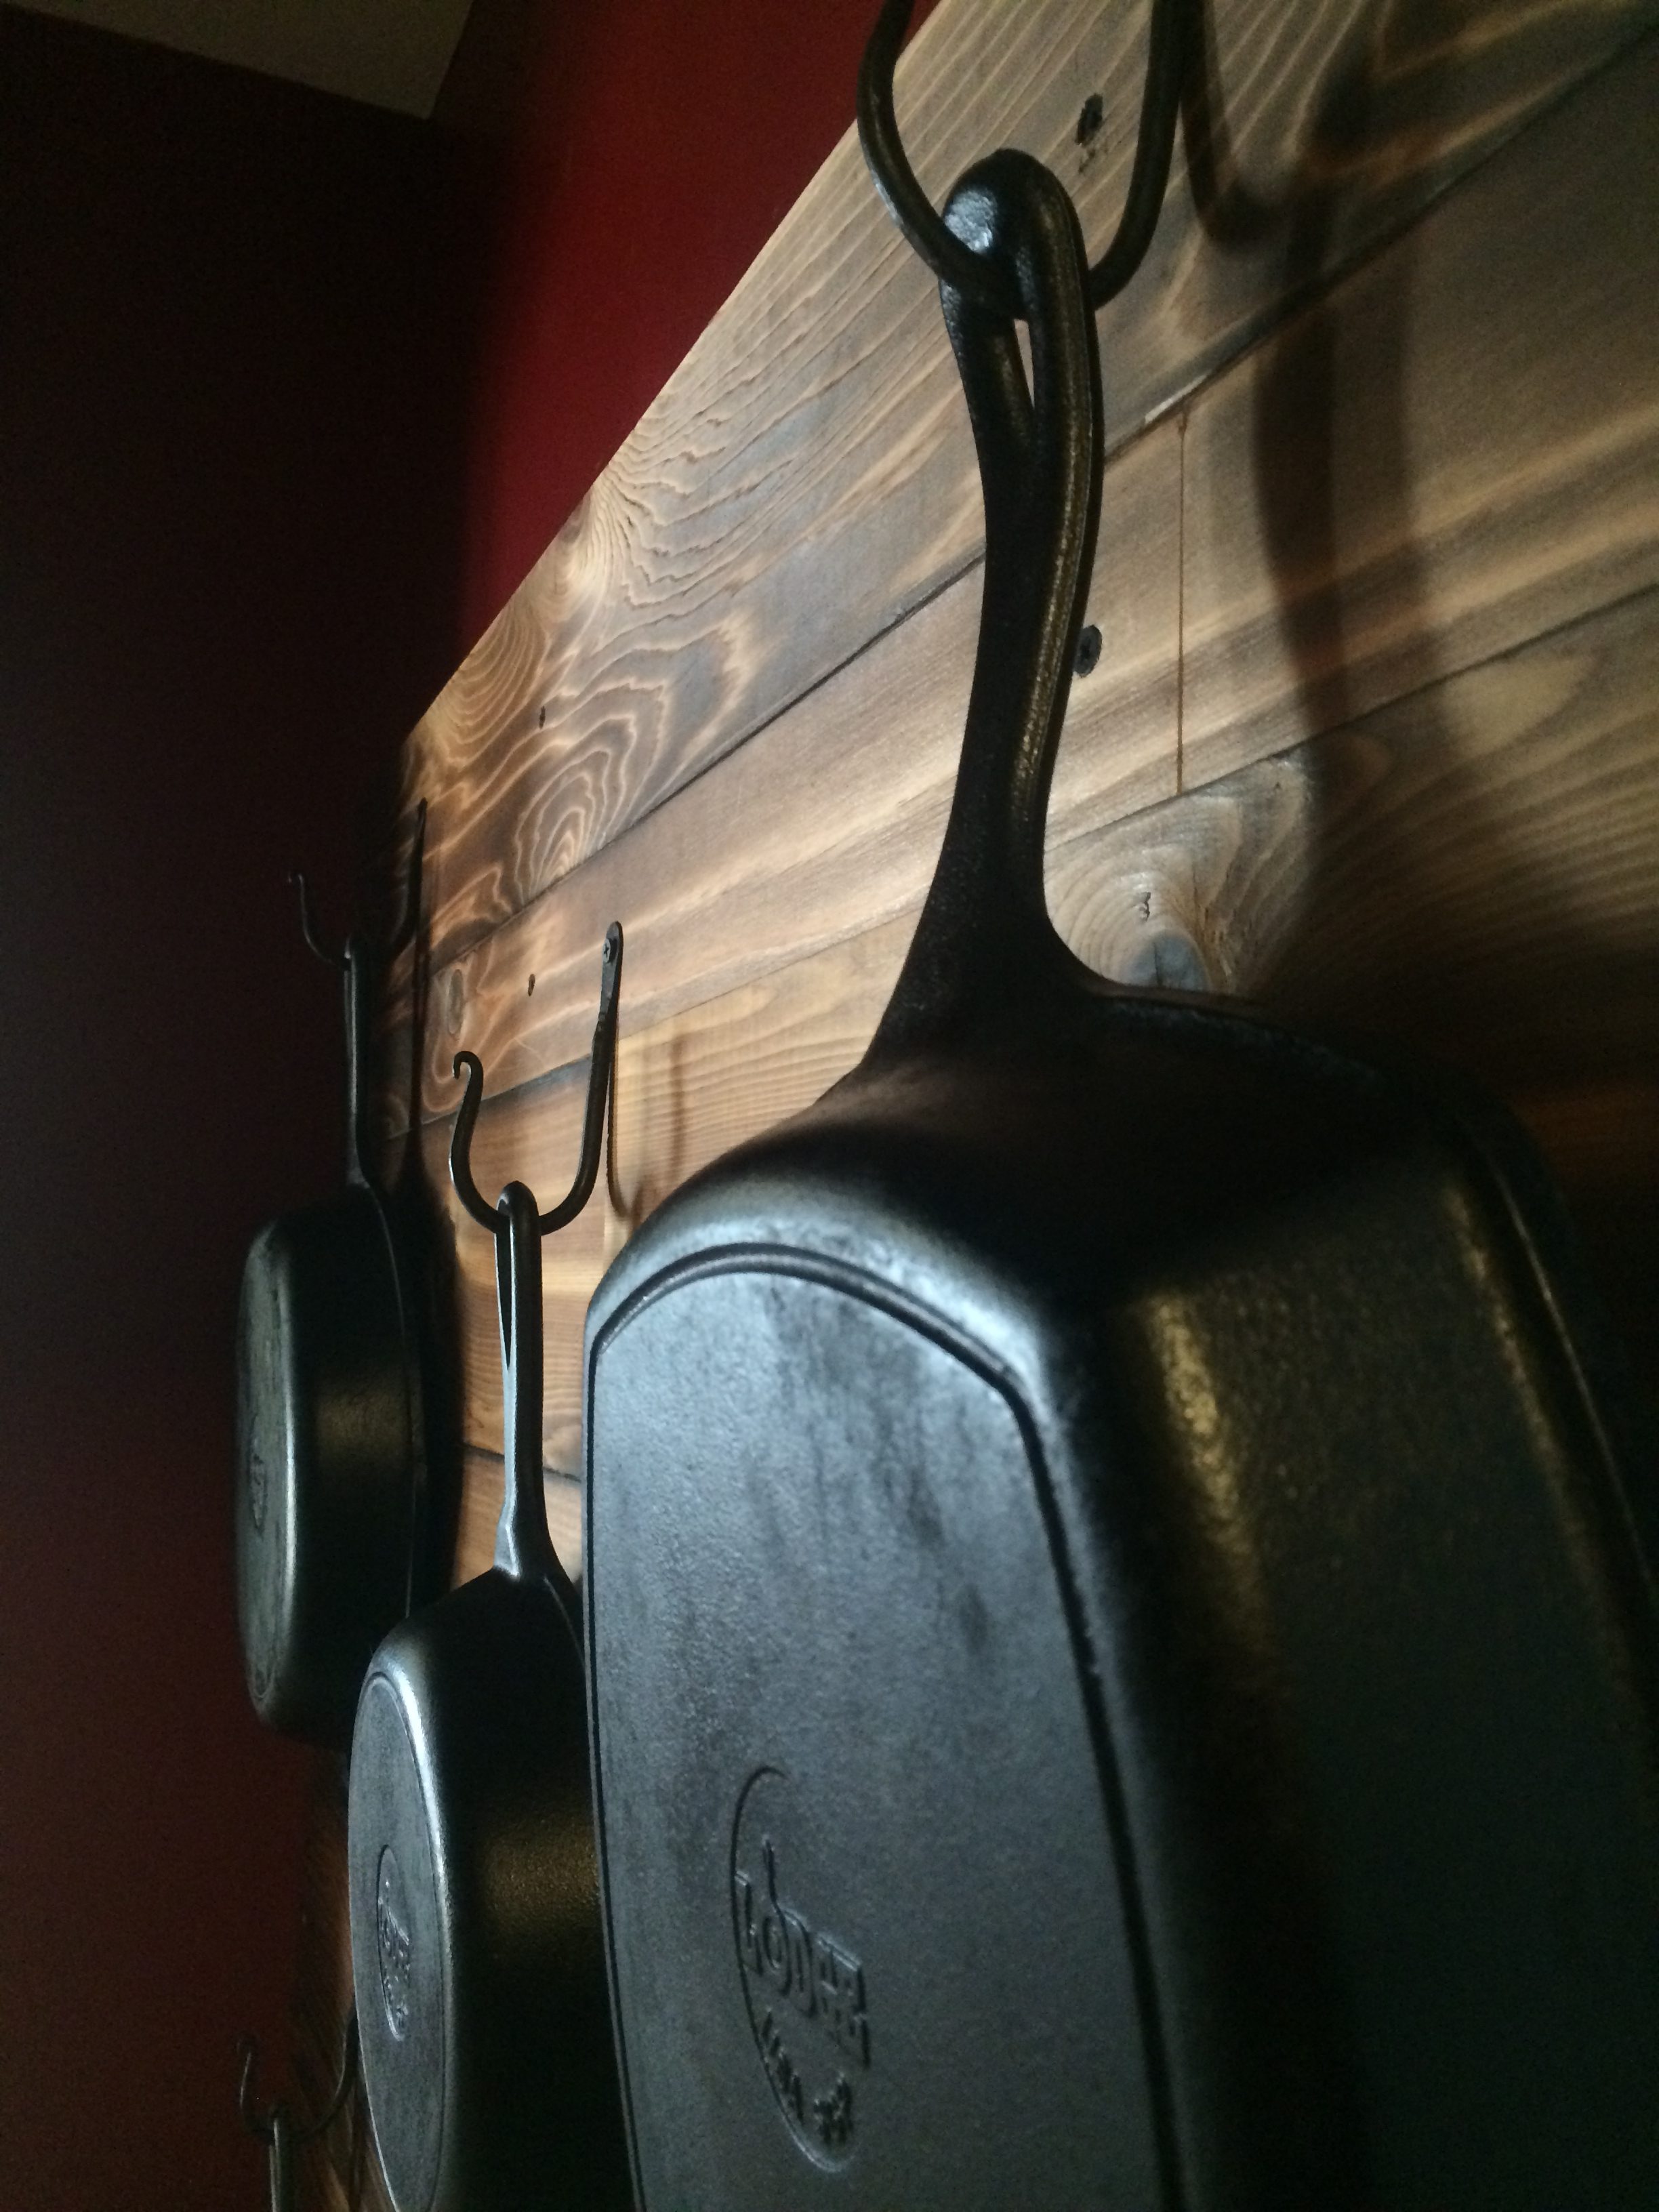 I forged the hooks from ¼ inch round stock. I tapered one end and scrolled the taper. The larger scroll for the hanging was done on the anvil horn. I then cut the excess material off using the hot cut hardy, and flattened a little plate for the screw hole. I did not punch/drift the screw holes. It was far easier and faster to make the holes with the drill press.
 After filing down some sharp edges on the screw plates, I finished them with vegetable shortening in the oven – the same way I re-season the cast iron.
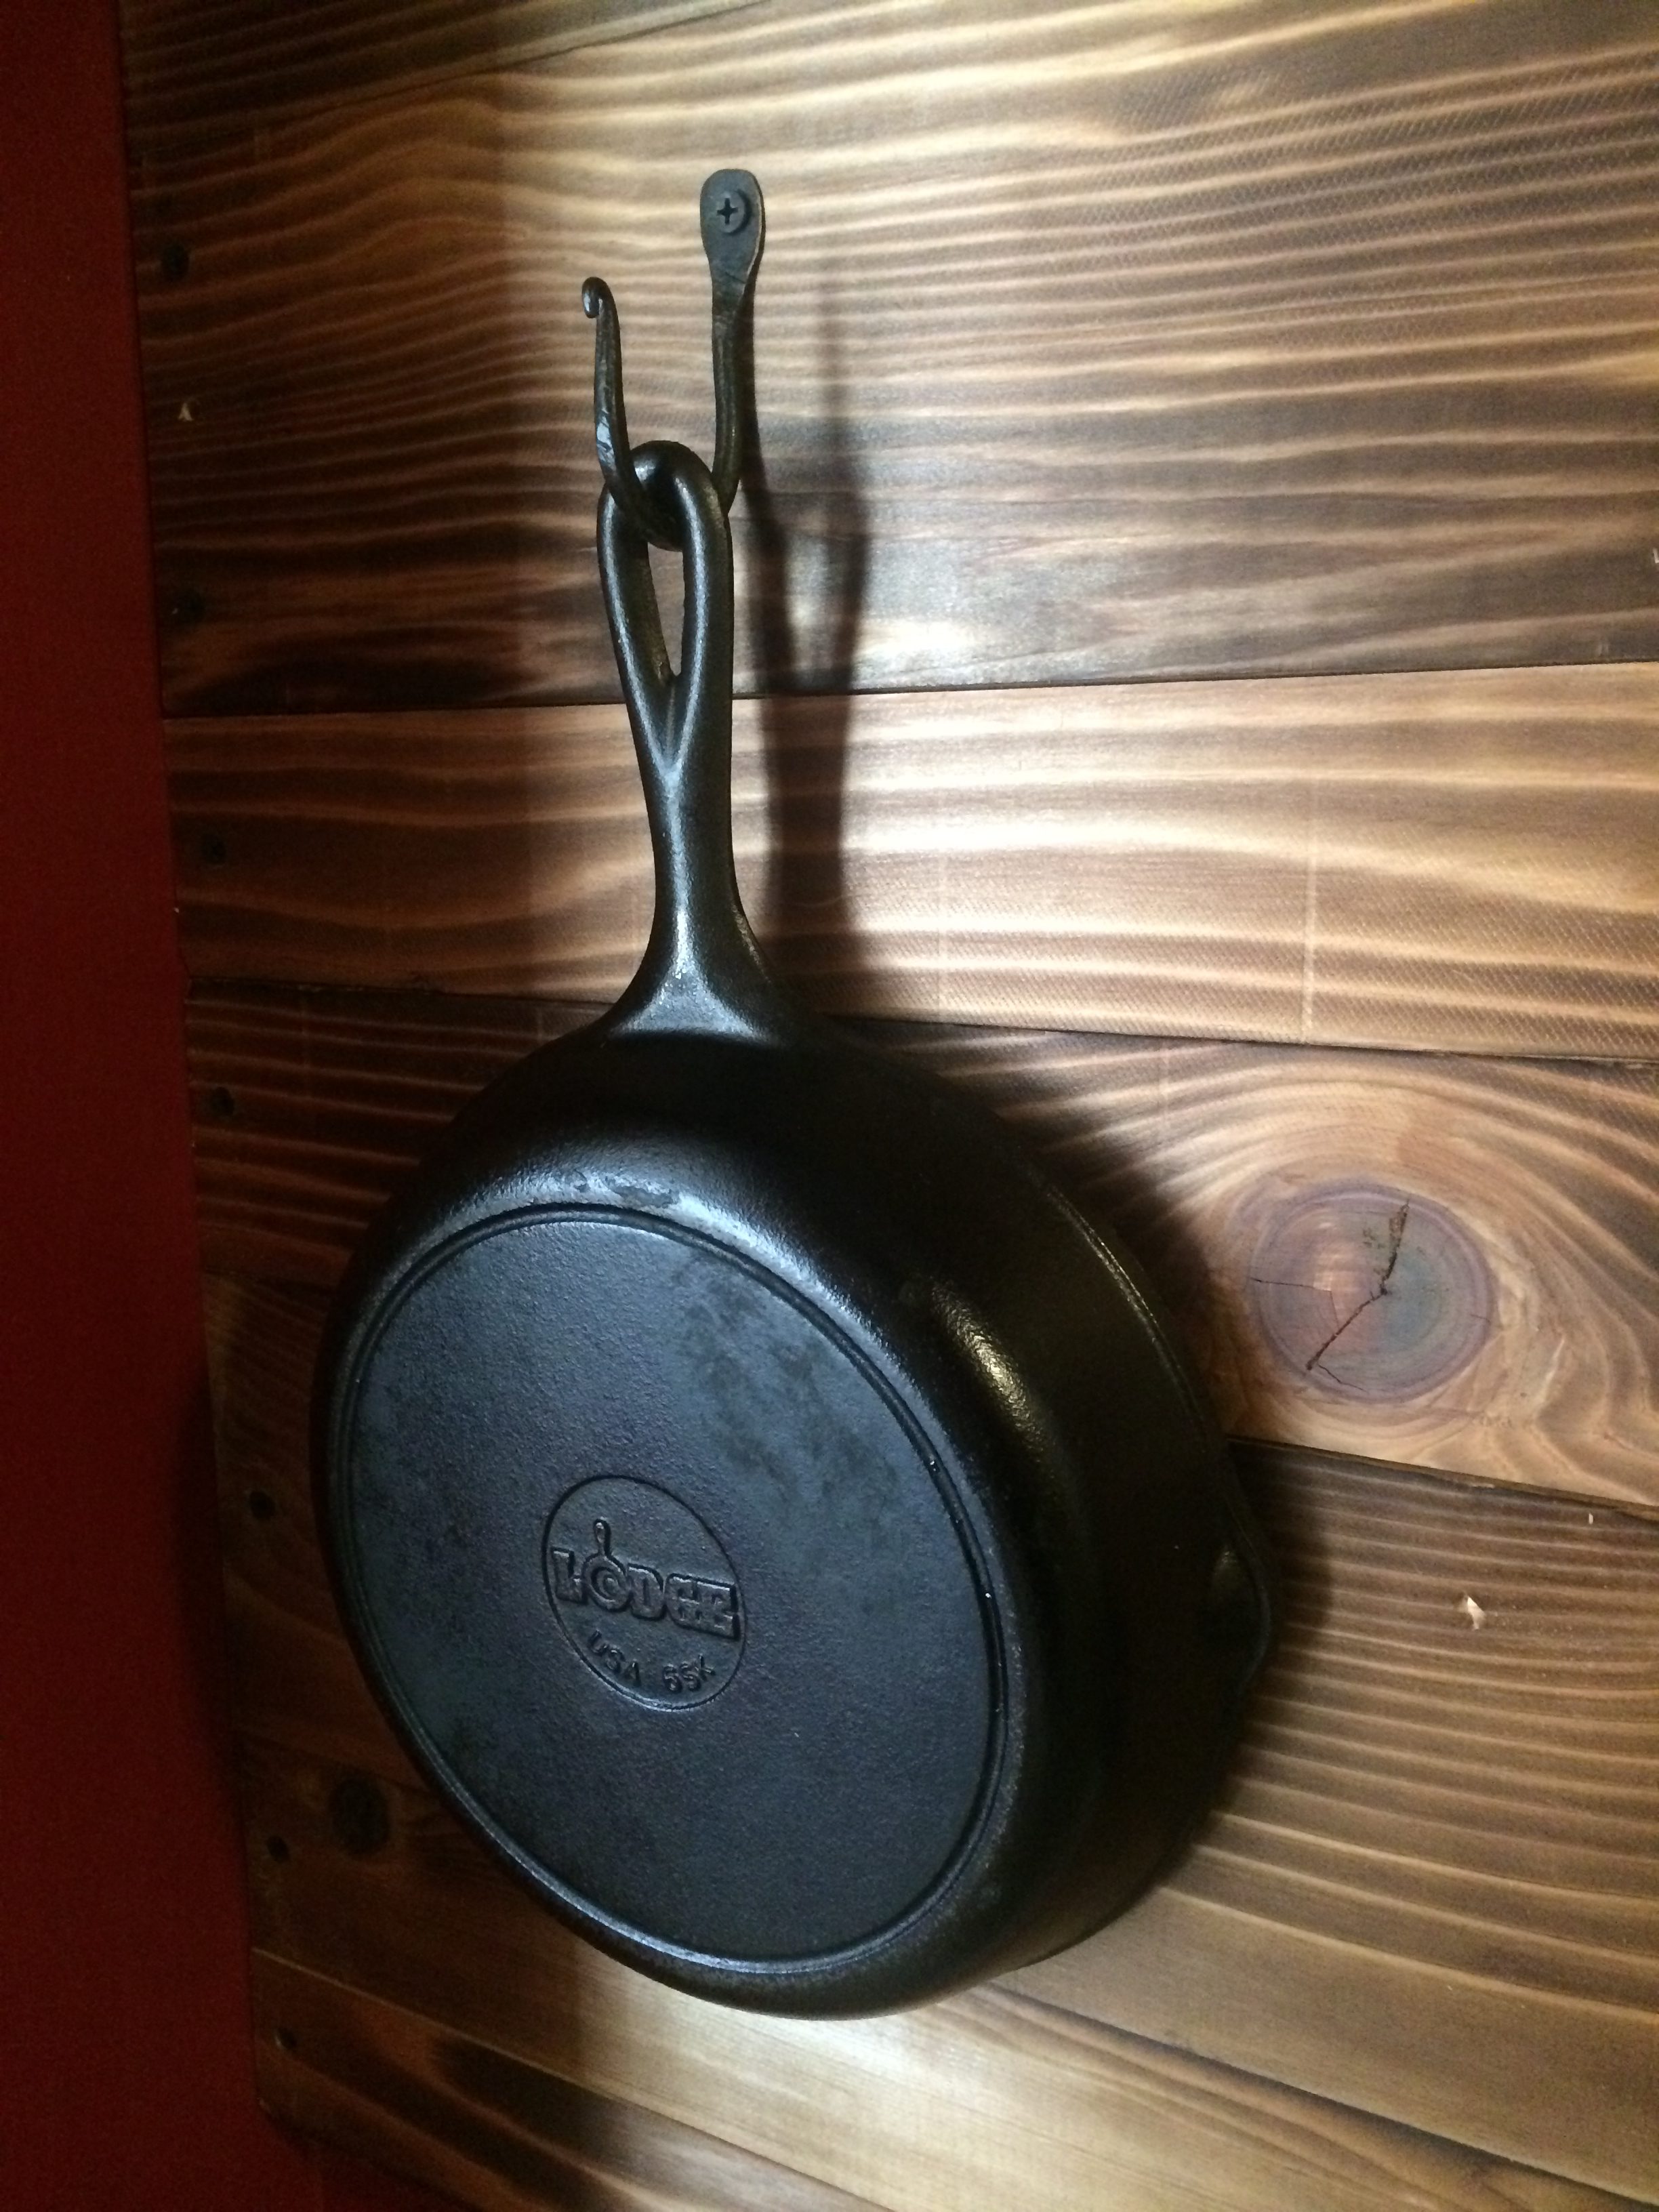 Mike ripped some of the cedar planks to make the pattern more interesting. He finished them by burning them with the blowtorch and rubbing them down with teak oil.
We just screwed them to the wall. Eventually, we will put planking and hooks floor to ceiling.
We attached the finished hooks to the back and the pans to the hooks.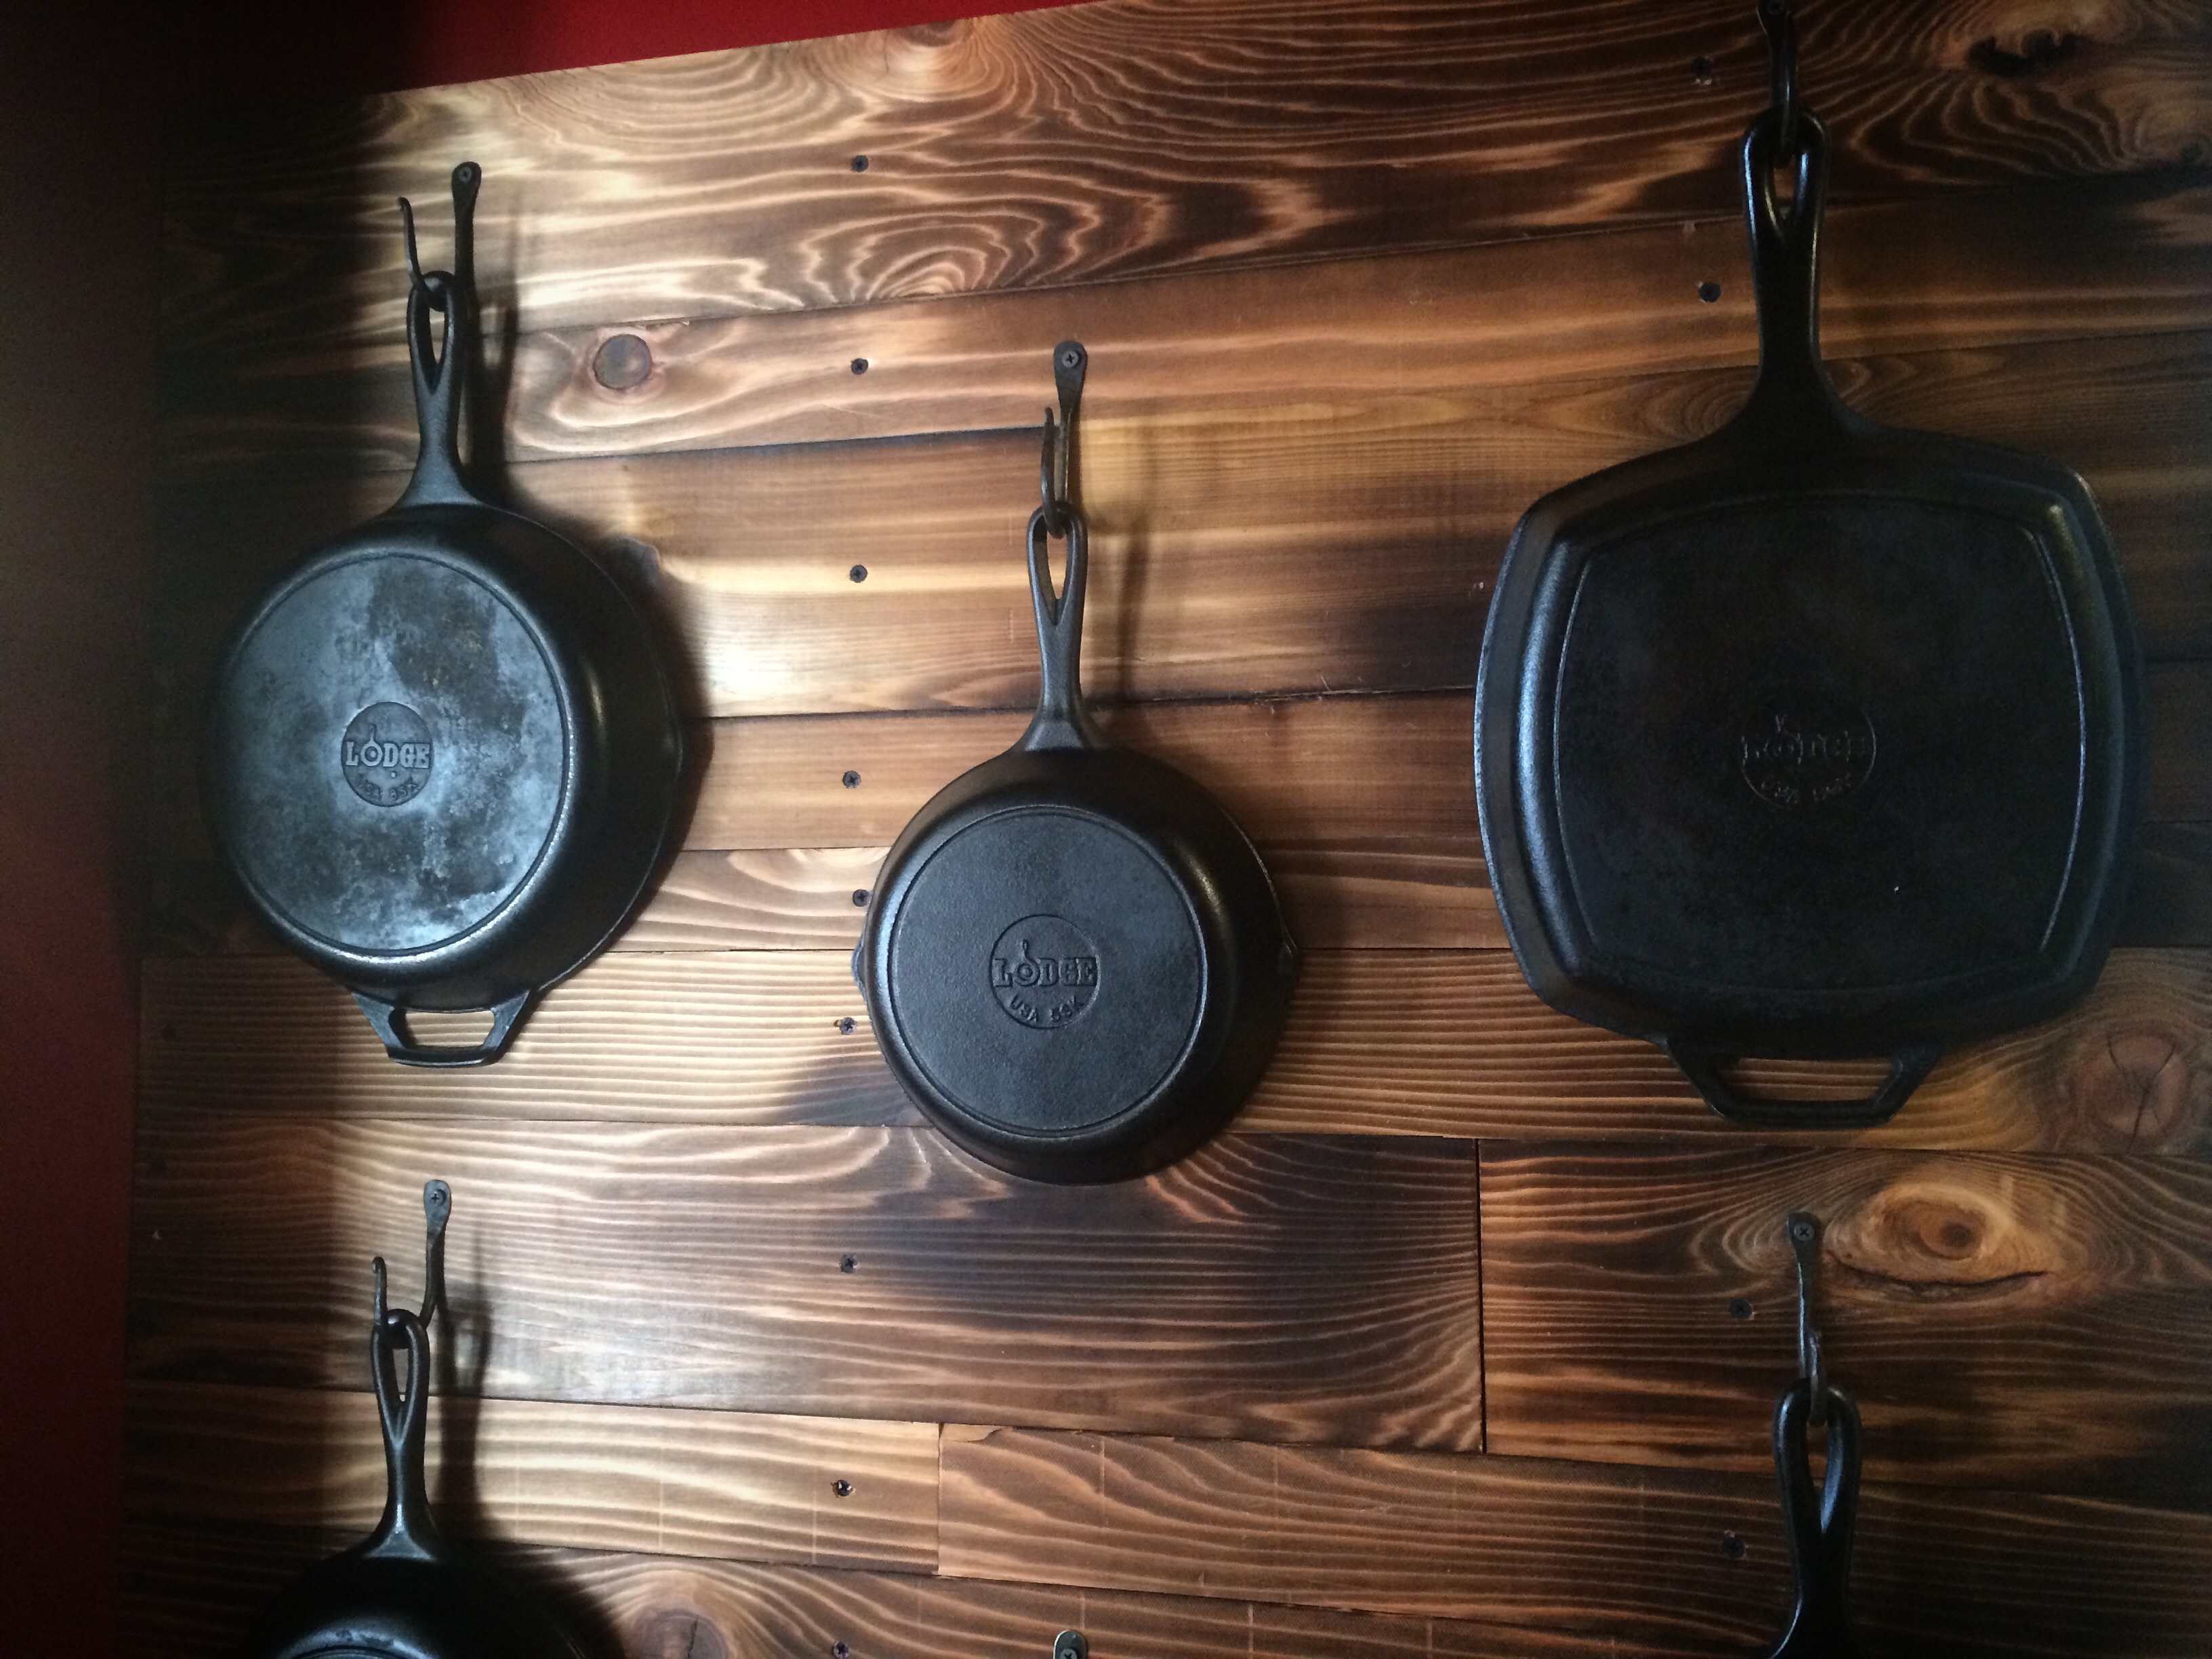
Problem solved…and it was fun collaboration.
Leave a Reply